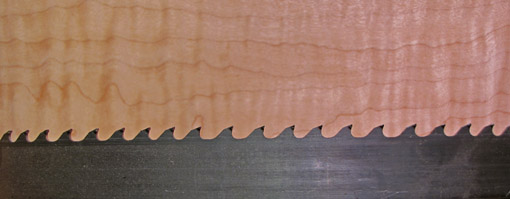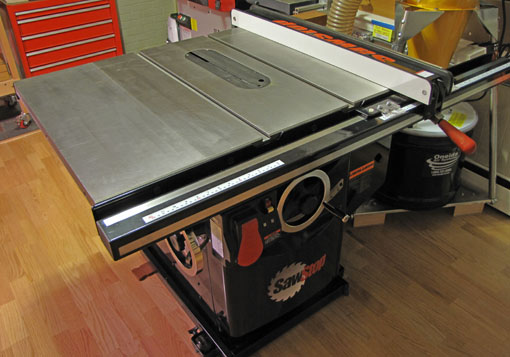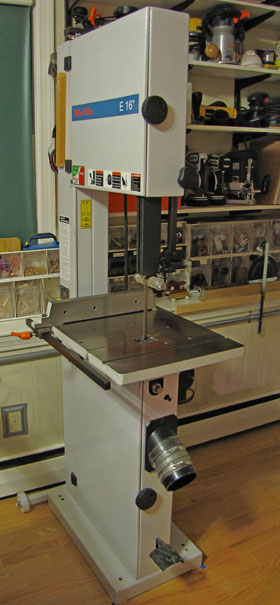
It’s time . . . for the table saw-bandsaw matchup for building a table. Most of this applies to other post-and-rail or leg-and-apron construction such as cabinets-on-stand, beds, benches, and frame-and-panel casework. I’m afraid this is going to be a brutal mismatch, but don’t worry, the referee is nearby.
The bandsaw has decisive advantages over the table saw for making the legs. First, it allows for the artful selection of long-grain figure unrestricted by its original orientation to the edge of the board.
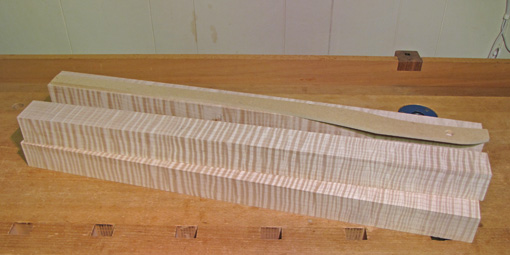
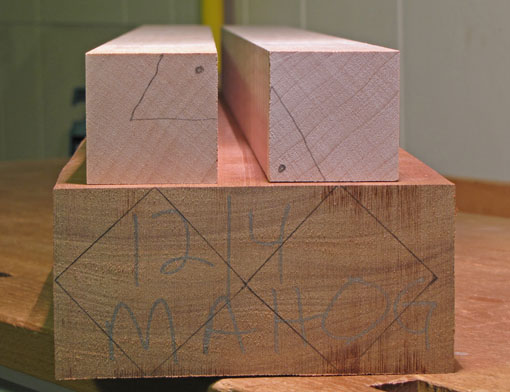
Equally important is the orientation of the end grain. As discussed in an earlier post, this is critical for shaped legs. In most cases, diagonally oriented annual rings in the leg blanks give the best look. Even if suitable riftsawn stock is unavailable, the effect can be created from thick flatsawn stock by ripping it at appropriate angles, as shown in the photo below. The 12/4 mahogany can be ripped as indicated by the squares drawn on its endgrain to yield the same desirable ring orientation of the maple leg blanks. (The markings on the maple are not cut lines.)
Of course, the ability of the bandsaw to cut curves allows infinite options beyond simple straight tapers. However, straight cuts in the thick stock usually used for legs are also more comfortably done with the bandsaw, used in conjunction with a jointer (hand or machine). Ripping 10/4 bubinga with even a 3HP cabinet saw is not fun.
Now just in case the faint of heart are wincing at this lopsided bout, I point out again that it is best to have a bandsaw and a table saw. As discussed in the previous posts, this match-up is really about the priorities that guide one’s approach to woodworking.
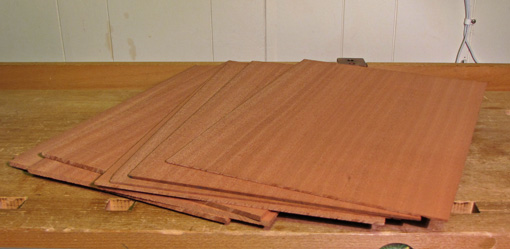
Moving on to the aprons and top, figure selection and options for resawing are again important. You might consider a bookmatched solid wood top for small tables. Curves in the rail members are also more likely to come from bandsaw thinking. Interesting designs can be created with thick veneer which can readily be produced with the bandsaw. The photo below shows 11″ wide ribbon-stripe khaya directly from my bandsaw. The pieces to the left will finish to 3/16″ thick after minimal planing, suitable for false drawer fronts, and the pieces to the right will finish to 3/32″, suitable for thick veneer.
For mortise and tenon joinery, the heart of leg and apron construction, both the table saw and the bandsaw can make good tenon cheeks, though the table saw can also easily cut clean shoulders. Otherwise, there are few straight, clean, critical crosscuts required in building most tables, thus neutralizing one of the table saw’s strengths.
Don’t forget that in the design stage, as you unleash your creativity, the bandsaw makes mock-ups wonderfully fast and fun.
The referee steps in to stop the carnage and declare a TKO. (And, thankfully, also puts a stop to this ridiculous metaphor.)
Some woodworkers may be concerned that the bandsaw takes more setup, learning, and tuning. I do not think it is harder to set up a new bandsaw than a new table saw. Learning the bandsaw is mostly fun, with less intimidation than posed by the table saw. Further, there are many excellent sources of information, including books by Mark Duginske, Lonnie Bird, and Roland Johnson. I admit, however, that changing and cleaning bandsaw blades are among the least pleasant jobs in the shop.
I suggest get a steel frame bandsaw with at least 12″ of resaw height with motor power to match. Fortunately, bandsaws do not take up much space. Minimax and Agazanni are among the makers of excellent machines, and Grizzly and Rikon make very good, less expensive ones. If you have any money left over, consider buying a table saw; I hear they’re quite handy.
Finally, consider the wisdom of the late James Krenov, who wrote in The Fine Art of Cabinetmaking, “Of all my machines, the band saw has done the most to help me use wood the way I really want to.”

