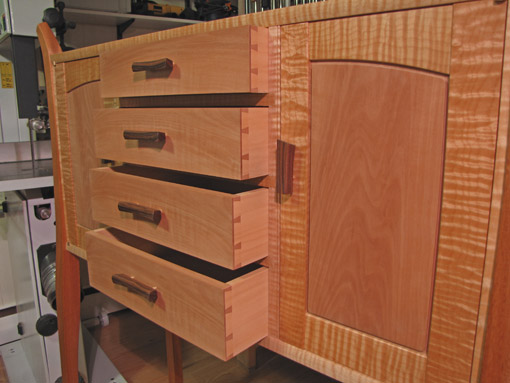
For the sides and back, it is best to use straight-grained quartersawn stock for the sake of dimensional stability. This wood will usually have a plain appearance and offer a contrast to the drawer front. Light-colored species are typical, such as hard maple or yellow poplar.
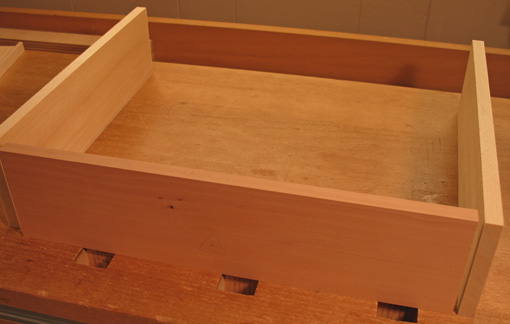
The thickness of the sides varies according to the size of the drawer and the load it is expected to carry. I prefer sides to be a bit chunkier than those favored by many craftsmen. For the small drawers in this project, I made the sides 7/16 inch thick. The backs are a fat 9/16 inch, not much less than the front, to allow for stronger joints at the back corners and to create a more balanced drawer as it is withdrawn.
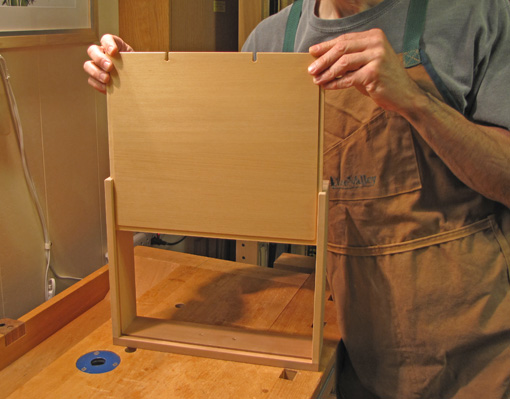
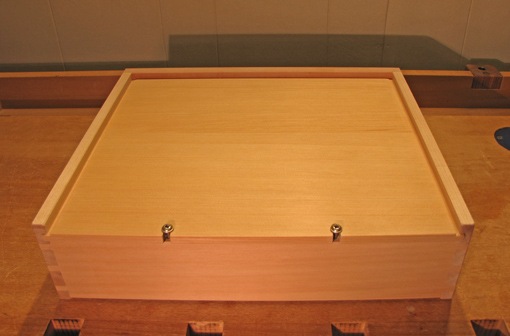
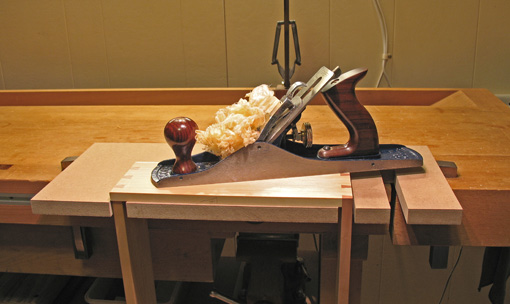
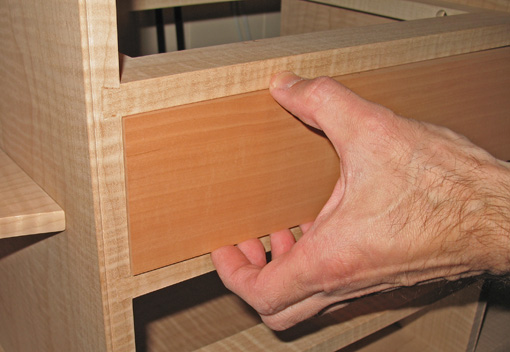
It is helpful to select parts so the outer surfaces of the sides can be planed front to back after assembly. The height of each side is ripped to that of the drawer front where it will be joined. I set the table saw fence using the front as a gauge. The length of the drawer should allow for safe clearance at the back of the case, considering any anticipated shrinkage of the case during the dry season, as well as for a small projection of the bottom past the back of the drawer. The length of the back piece exactly equals that of the precisely-made front, maybe plus a hair, but never shorter.
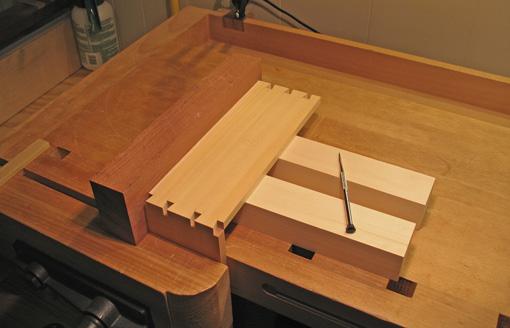
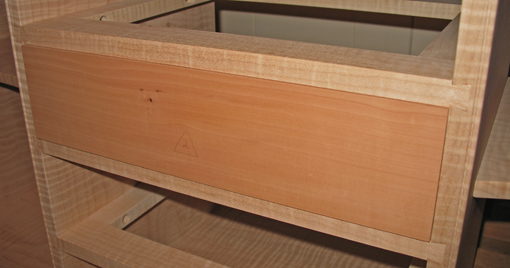
Triangle marks are invaluable to keep parts organized. A number inside the triangle section is helpful when constructing multiple drawers.
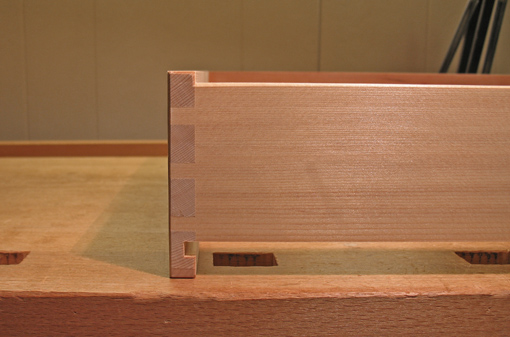
Because I used Port Orford cedar, a rather soft wood, in this project, I was concerned that the bearing surfaces would wear over time. If the sides of a drawer are too thin or too soft, drawer slips, a traditional solution, effectively widen the bearing surface as well as prevent the groove for the bottom from weakening a thin side.
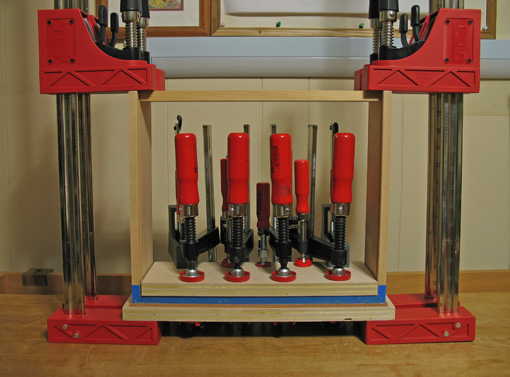
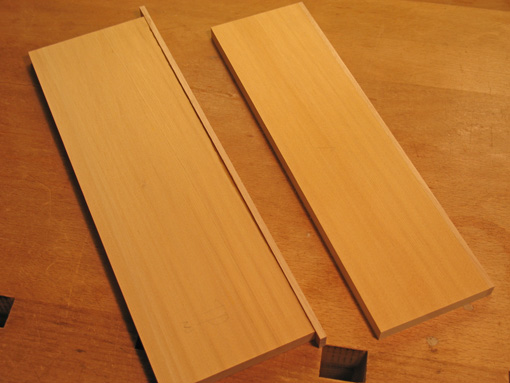
In this project, I wanted to try a different, perhaps cleaner-looking solution, so I glued 3/16 thick strips of hard maple to the bottom edges of the drawer sides and planed them flush. In retrospect, I can’t say this was any easier than making drawer slips, but it worked out well.
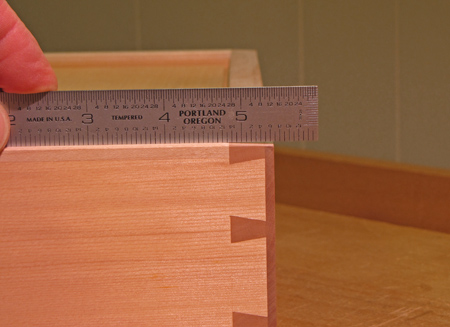
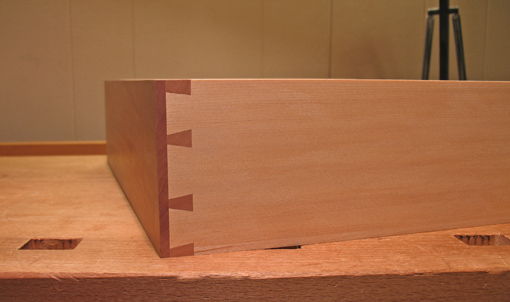
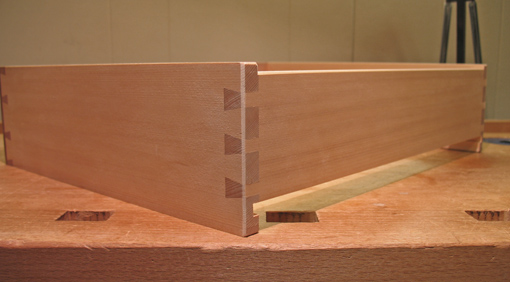
Join the sides to the front and back using whatever dovetailing method you prefer. The bottom edges are the references. Here’s a key point: set your cutting gauge to produce a pin depth that is slightly less than the thickness of the sides. Don’t go crazy measuring these tiny amounts; they’re not critical. Call it less than a 32nd. Later, after assembly, the sides therefore will be proud of the front and back. They will be planed flush to the end grain of the pins as you reap your reward for the care you invested in fitting the front to the case. Beyond that, only minimal, judicious planing, if any, may be required to achieve the sweet fit that you seek.
Next: several pointers on dovetailing as it pertains to drawers, and a different method for dovetailing the back to the sides.
