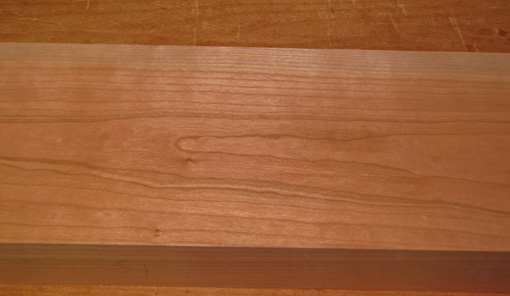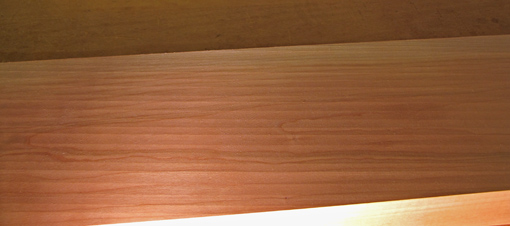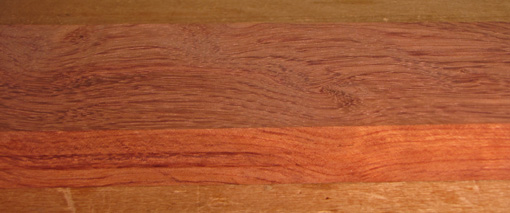
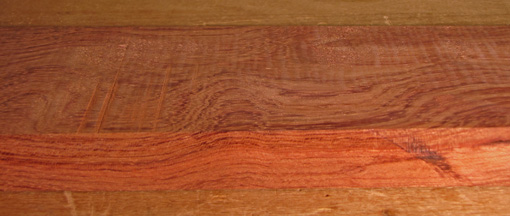
The nasty waterfall bubinga in the top photo, above, shows the clean, tearout-free surface produced by the Shelix, while the lower photo shows ugly tearout, visible toward the far edge of the board, from a conventional cutterhead. This is the great advantage of the Shelix for the work I do.
But how does the scalloped surface – see the previous post – left by the Shelix fare in the building process?
First, assessing this surface for flat and square is not a problem. True, if you hold a straightedge across the wood and back light it, you can see tiny gaps created by the valleys of the scallops. However, the straightedge (or square, or winding stick) sits on the peaks of the scallops and permits an adequately accurate evaluation.
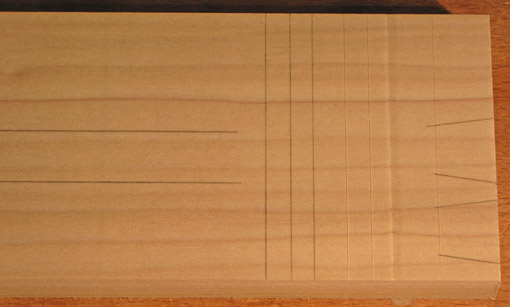
For marking out, I wondered if lines would look squiggly. Again, no problem. I marked with a fine pencil point across and along the grain, laid out dovetails, and knifed lines across the grain (and made a “V” shoulder on one of them). See below: the markout looks fine to me and would be easy to follow with a saw or to chop against.
How about glue lines? Just as with a conventional cutterhead, I would not use a Shelix surface for edge gluing. (Anyway, the Shelix is on my planer, not the jointer.) I always hand plane the machined surface to increase accuracy and the quality of the glue surface. No machine can remove a thousandth of an inch in a controlled manner and leave behind a pristine, unbattered surface the way a hand plane can.
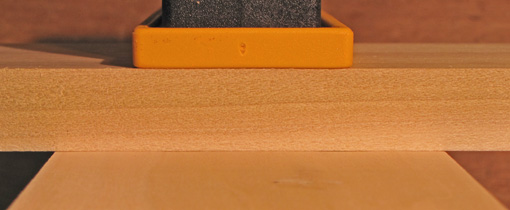
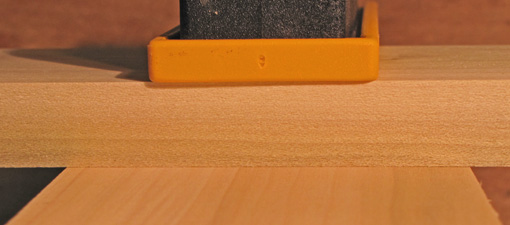
However, for bent laminations I want to glue directly from the machined surface and I do not own a thickness sander. I have not tried this yet with the Shelix but I think urea formaldehyde glue such as Unibond 800 or URAC 185, which I use for laminating, would easily fill the tiny voids created by the scallops. These are barely noticeable in the photo directly below which shows the meeting of two crossgrain Shelix surfaces. For comparison, the photo below that shows the meeting of two handplaned surfaces.
Maybe there will be times when I don’t want that scalloped surface but I doubt it will be often, especially as I get more used to the Shelix. I still have my Inca 10″ jointer-planer but will probably use it only as a jointer for the vast majority of work.
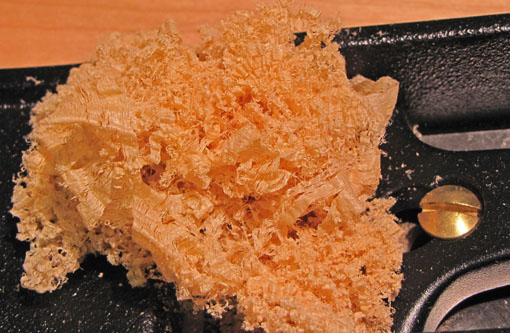
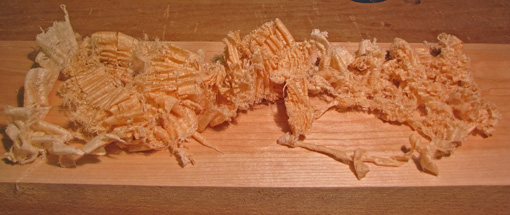
Well, when it comes time to clean up the Shelix-machined surface, how goes it? Wonderfully! This is an unexpected advantage of the Shelix. When hand planing, the peaks of the scallops register the sole of the plane and stringy shavings are first created. The shavings widen as the valleys are approached and finally planed away. So, for figured species it is actually easier to avoid tearout when handplaning (or scraping) the Shelix surface compared to a conventionally machined surface. Furthermore, the gradual removal of the peaks makes it easy to evenly plane the width and length of a board because the shavings indicate your incremental progress and tell you when you are done. It is somewhat like cleaning up a toothed plane surface.
The shavings first look like this:
This photo shows, from right to left, the progression of shavings:
With all this in mind, I think for most projects, I will be able to hand plane away the scalloped surface, or partially clean it up, at the same point in building that I would for a conventional machined surface, and when I do clean it up, it will go very well. For example, to dovetail a box, I would clean up the inside surfaces, mark and cut the dovetails, glue up, then plane the outside surfaces.
While it truly takes a long time and varied circumstances to fully assess the value of a tool, I think I’m on board with this thing. I’m especially more confident dealing with figured woods.
[This review is uncompensated and I have no relationship with Byrd Tool.]

