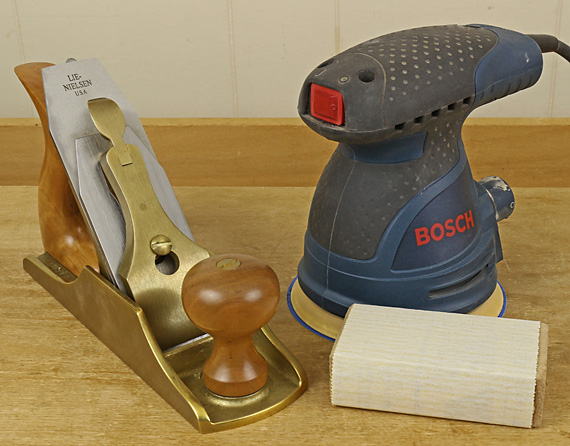
Let’s consider the finished surface qualities produced by sanding compared with handplaning. Here there will be no blanket declarations, including none extolling the superiority of handplaning, and no simple catalog of species with recommendations to sand or plane.
The real answer is to experiment as part of planning your project. In each case, consider the look you want and the practicalities of the building process.
You have to assess the surface of the wood (the particular boards at hand, not just as a species) in combination with the applied finish. Just as it pays off to plan the applied finish at the start of a project, so too should the method of finishing surfacing the wood be planned. Winging it is usually not smart.
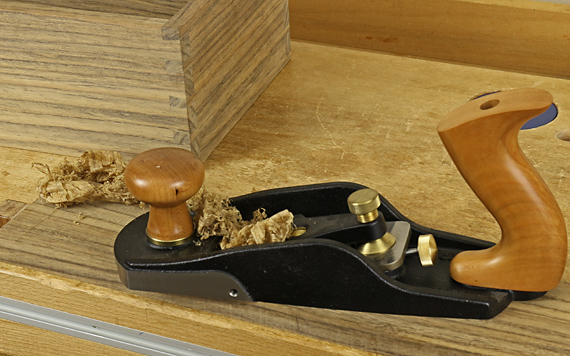
Here are examples from the shavings and dust of my shop. YMMV. This discussion pertains to the final surfacing of wood that has already been trued or shaped; we’re only dealing with the last few thousandths of an inch of wood.
By the way, for exposed parts in fine woodwork, I never finish with the surface from a random orbit sander, no matter how fine the disc paper. When sanding, I always finish with hand sanding. In fact, most of the time, I don’t use the ROS at all.
For figured big leaf maple, one of my favorites, with satin gel varnish, I can see no difference in the final look whether the wood surface is finished off with hand planing or fine hand sanding. Therefore, I do whichever is easier and that is usually sanding.
The same goes for figured bubinga with oil-varnish mix. Bubinga responds exceptionally well to scraping, so little sanding is required thereafter.
Claro walnut, another favorite, with oil-varnish, seems to look more clear and lively when handplaned. With brush-on varnish however, I cannot tell the difference between planing and sanding. For highly figured Claro, its visual impact often seems to override subtle differences between planing and sanding.
Curly cherry with gel varnish, the finish I like best for it, is finicky. It looses some of its pizzazz when sanded. Pearwood similarly looks exquisite straight from the smoothing plane and can well be left unfinished, but after two coats of water-base acrylic, it is hard to tell if the wood was planed or sanded.
Oak, red or white, flatsawn or quartered, plain or figured, with wiping varnish and the grain unfilled, usually looks about the same to me, sanded or planed. Oil-varnish is different.
Again I emphasize that I always experiment at the outset of a project with the actual wood and finishes that I am using for that project, and try to anticipate the practical issues that I will encounter in building the piece.
We ought to be practical. A curvy table leg creates most of its visual impact from its form, while it is the surface and figure of a cabinet door panel that we appreciate. Again, choose planing or sanding based on the overall look that you are after and the practicalities of building. Maybe there are fine facets on the leg that sanding would obscure and a spokeshave is the right tool to use, or maybe there are gradual curves that look good sanded.
Work with a smoothing plane is usually more pleasant than with sandpaper, but sometimes planing is just awkward, such as when finishing off a dovetailed case. And let’s face it, sometimes we just don’t want to spend more time at the sharpening bench.
There are also some special situations. For example, when fitting a drawer, a hand plane is the only tool to use on the sides. Choose the wood for the sides to allow easy planing and usually leave it unfinished.
One more thing: when finish planing difficult wood, there are almost always a few spots of tearout that just seem unavoidable, or maybe the blade developed a nick (especially some A2 blades) and left a little row of raised wood. I touch up these areas with a 0.020″-thick sharp scraper rather than with sandpaper. Nothing is perfect.
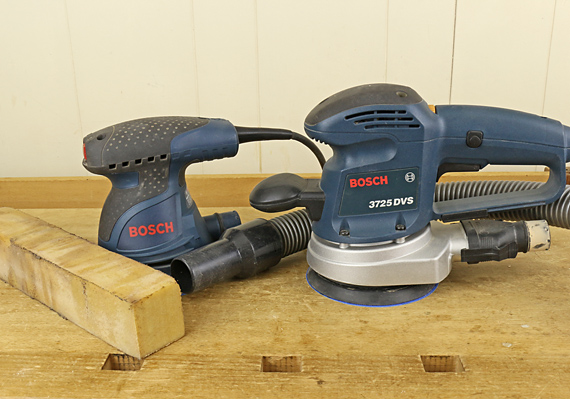
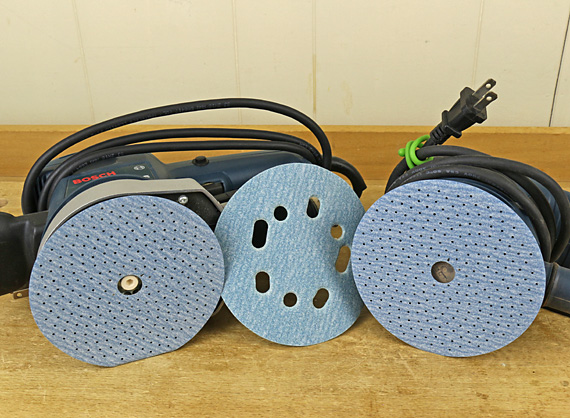
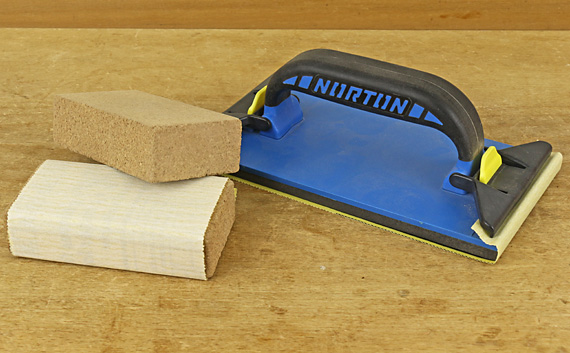
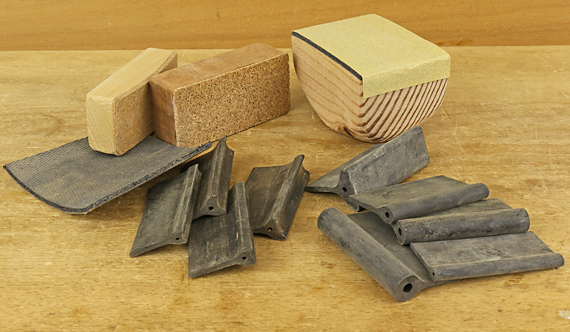
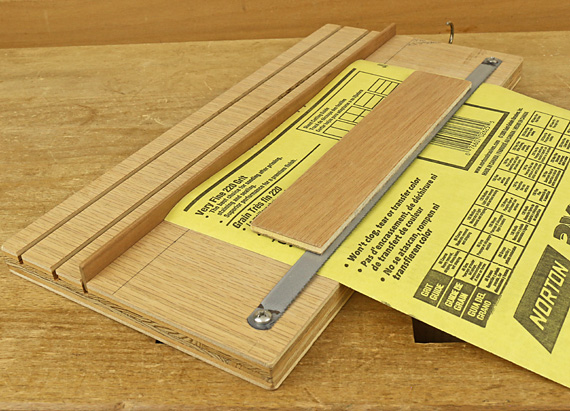
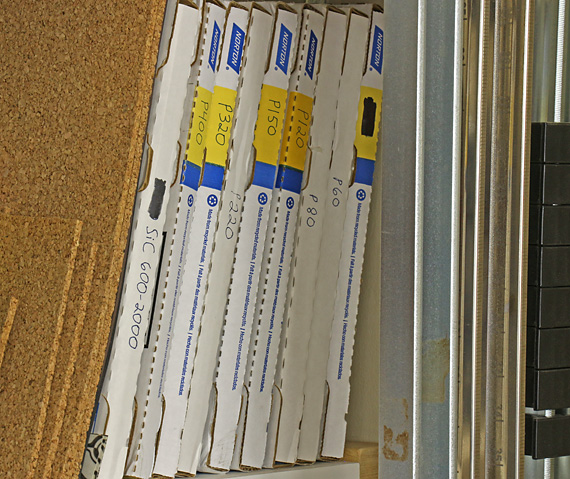
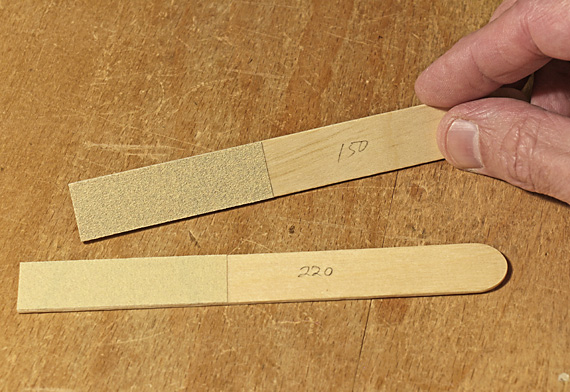
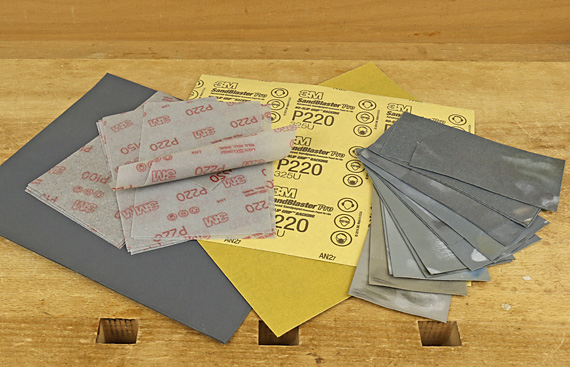
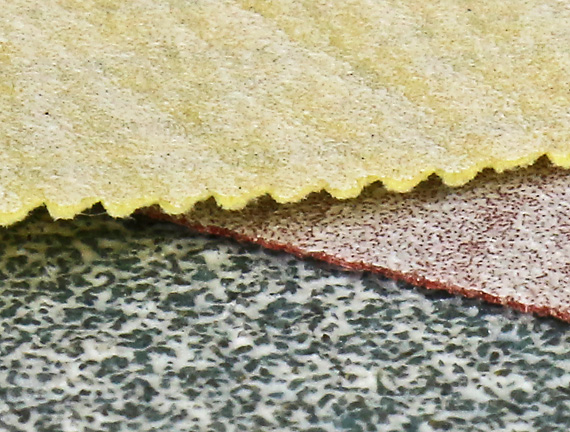
Next: sanding tools