Is there a gauge that works well both across and along the grain? Yes, but there are compromises and it depends on the wood. What we are looking for here is an all-around gauge.
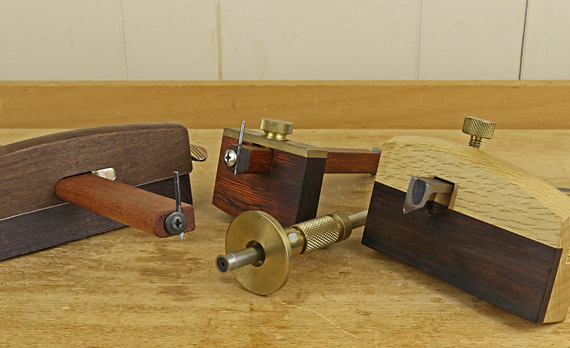
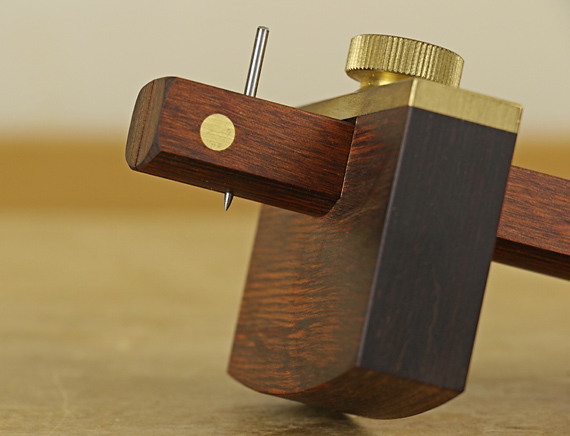
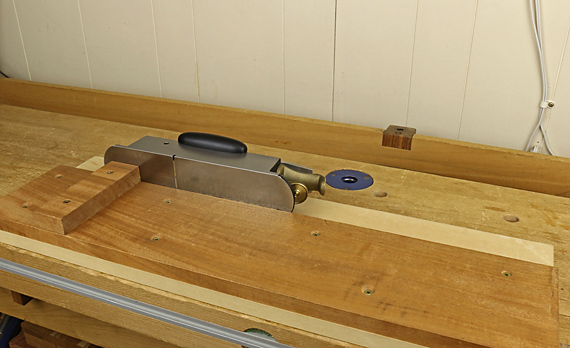
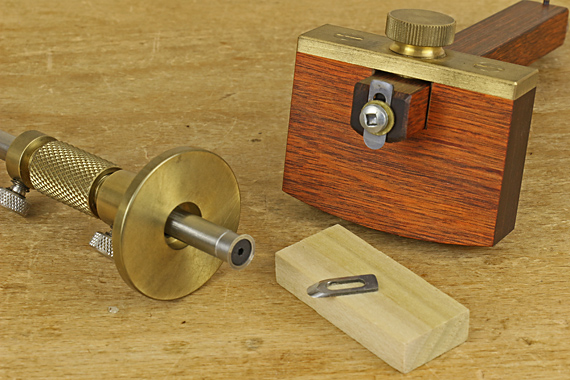
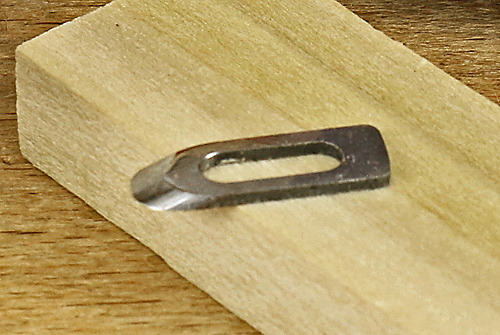
For this, I suggest the Titemark gauge or one of the gauges made by Jeff Hamilton of Hamilton Woodworks. The Titemark has a round blade, while the Hamiltons use a fingernail-shaped blade. I have used the Titemark in my shop for many years. I do not own a Hamilton gauge (on my wish list), however, I have used them – they are excellent – and I use a Hamilton blade retrofitted into a Cullen gauge, as shown above.
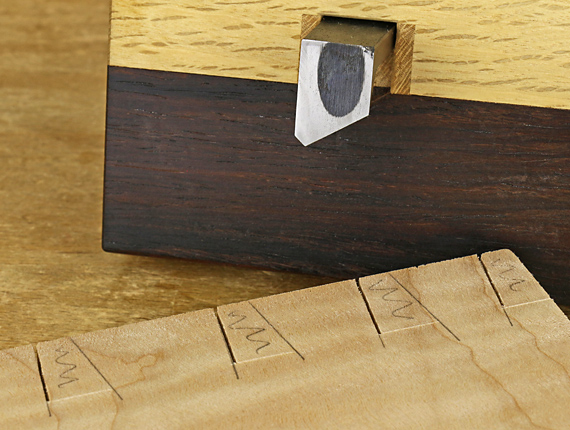
In any case, it is the properties of the blades that are the focus of this discussion. Here are close up views:
Let’s consider how these blades perform in a fine, diffuse-porous wood like cherry and a coarse, ring-porous wood like oak. Mahogany and walnut would be somewhere in between on the spectrum.
Across the grain
Both cutters work well across the grain in cherry and oak. The fingernail cutter more readily bites deeper. By the way, I prefer to push or pull, not roll, the Tite-Mark gauge, and then use a slight roll only near the end to meet a layout line. Neither easily bites a line as deep as the Japanese V-point gauge, nor are they as easy to bring up to a layout line.
Along the grain
The round and fingernail blades work fairly well marking along the grain in cherry. In oak, however, the line is difficult to see and can be especially obscure on a quartersawn surface.
In all woods, the marked lines with both blades are thin; the fingernail blade is the better of the two. You can improve visibility by running a fine pencil point in the groove, though the pencil can sometimes jump out of the groove, especially in oak. Therefore, I generally prefer a conical or half conical point for medium to large scale marking along the grain. They make a bigger groove that is easier to see and easier to fill with a pencil line.
Still, it can be tough to smoothly mark a long visible line along the grain in oak even with a slim conical point. I find that the most practical solution is to mark directly with a fine pencil or lead point. In a later post, we’ll discuss options for that.
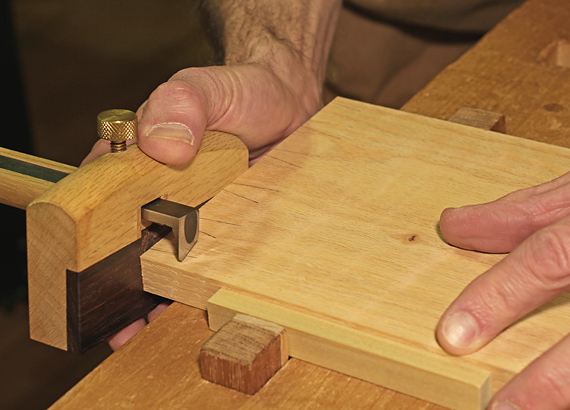
For detail work, including along the grain, such as marking out for hinges, the rounded cutters are just fine. I especially like the Tite-Mark’s micro-adjustment feature for this work.
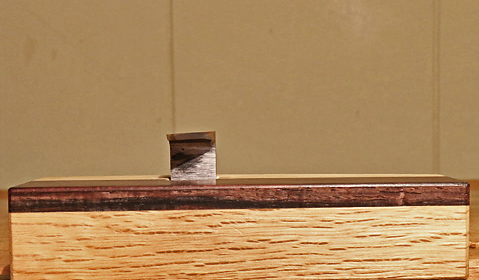
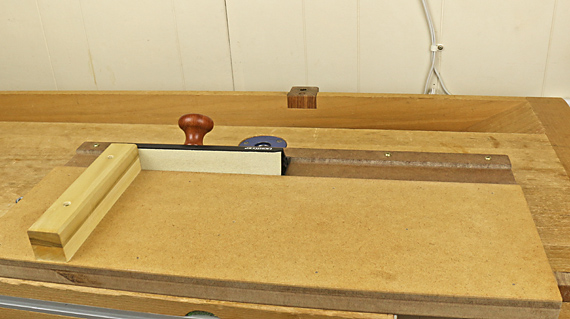
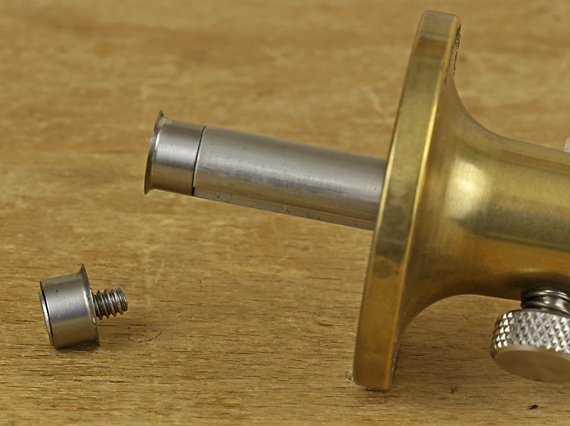
For situations where you want the bevel facing away from the fence to keep it in the waste, such as when gauging width to rip a panel, a reverse bevel cutter (bevel facing away from the fence) is available for the Tite-Mark (see photo above). The Hamilton blade can be installed with the bevel facing either way.
The Tite-Mark gauge affords an excellent sense of control with your fingers right up against the trumpet-shaped back of the fence. The small Hamilton gauge gives a similar sense.
It should be noted that Woodjoy makes a compact gauge with a V-point, and Lie-Nielsen makes a panel gauge with a V-point. I do not have hands-on experience with these but each has its cutter at the end of the stem, which is good, and of course, both companies make great tools.
In summary, I suggest the Tite-Mark or Hamilton gauges as good all-around gauges with the reservation that one gauge is not ideal for everything.
Next: conical markers