I think we would all welcome more shop space but realistically most of us contend with making better use of the space we have. Here’s another tip for that.
For combined machine and hand tool woodworking, shop space is usually governed primarily by the major machines, and then by wood storage, and the workbench. For the table saw, bandsaw, jointer/planer, and router table the required space includes not only the machine itself but, even more, the ranges of the infeed and outfeed. Manipulating these ranges can produce more functional shop space.
Coordinating the different heights of the machine tables is one trick to help. I covered that in a previous post. However, sometimes that can be difficult, so think also of the angle of the tables. Tiny differences there can pay off.
This is what you have to do when your shop is only 200 square feet.
During a recent bandsaw tune-up, I re-shimmed the table on the trunnion assembly. Oops, that made the bandsaw table just at the same height as the nearby table saw top. There was no infeed clearance for using the bandsaw in its usual location.
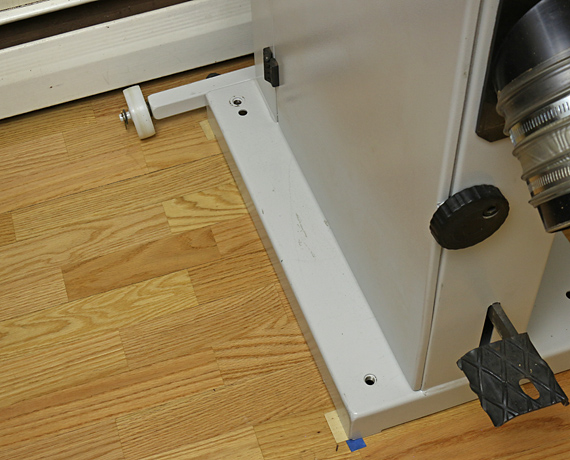
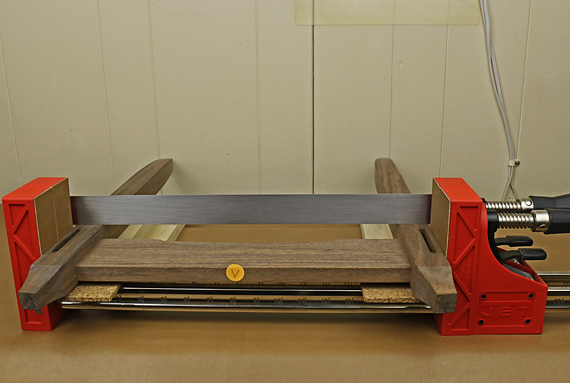
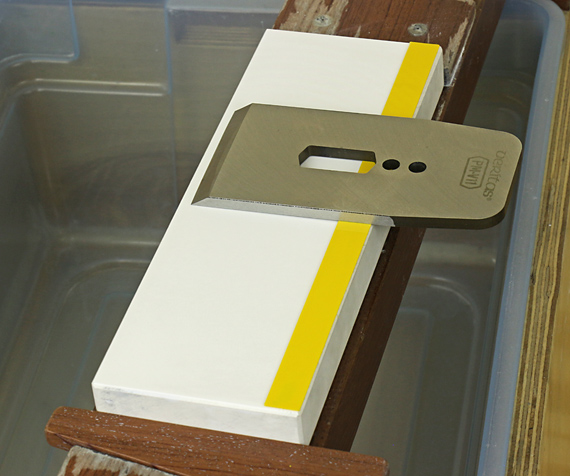
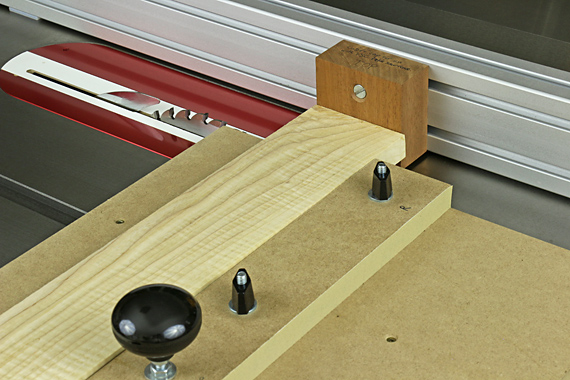
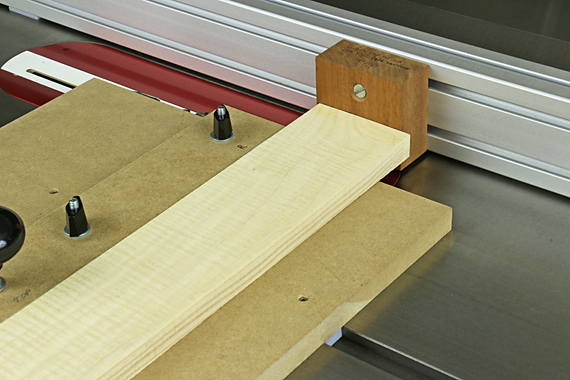
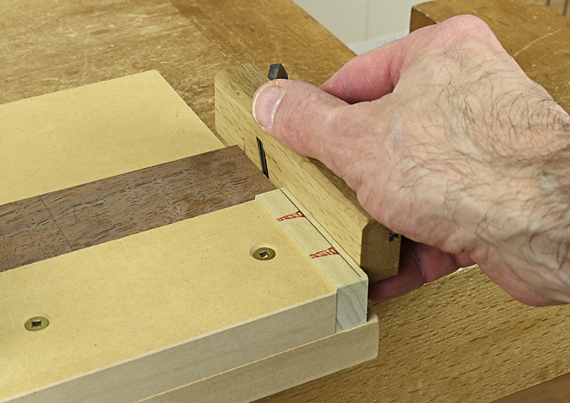
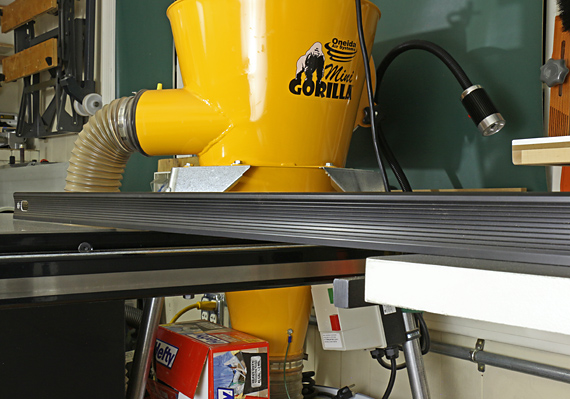
No problem. A pair of wooden shims, only about 1mm thick, placed on one side of the bandsaw base, tilted the machine enough (less than 0.2°!) so that the infeeding wood safely clears the table saw, plus some allowance for bowed boards. In the photo at the top, the straightedge is flat on the bandsaw table in the right of the photo, but notice in the left of the photo that it clears the table saw surface.
The only interference that this arrangement causes with table saw work is very wide ripping, on the order of 24″, which I rarely do, but all my machines are on wheel bases, so they can be moved to allow those jobs too.