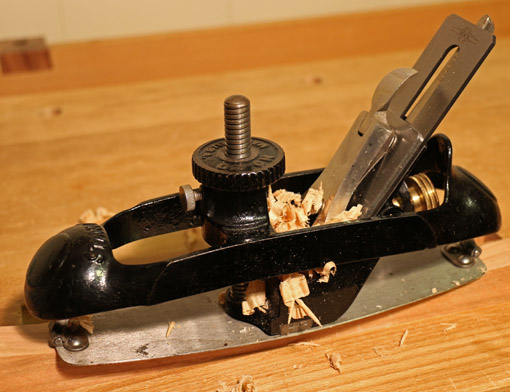
The compass plane is an effective tool when thought of as a jack plane for curves. It is mostly a shaping plane, where the shape is a curve, not a flat surface as for a regular jack plane. It is mostly fantasy to think of the compass plane sleigh riding over varying-radius curves spilling out long silky shavings.
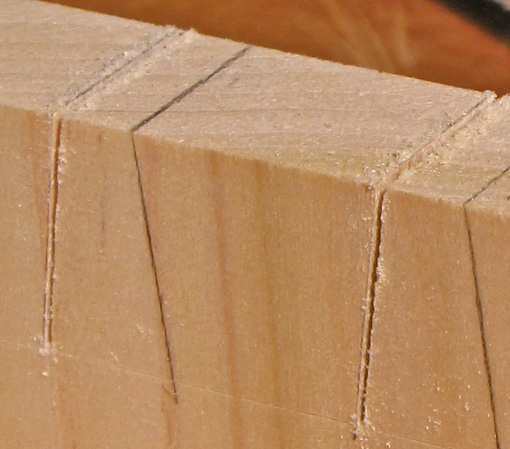
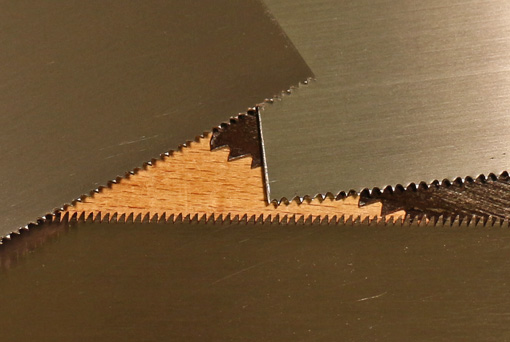
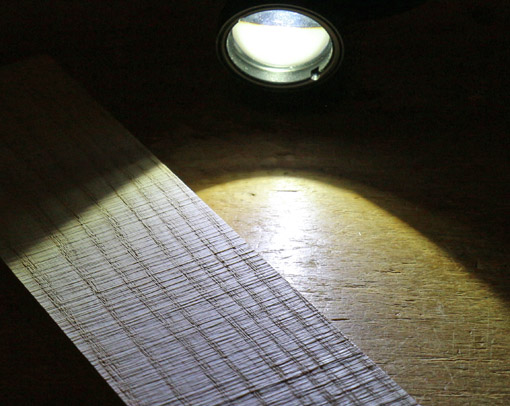
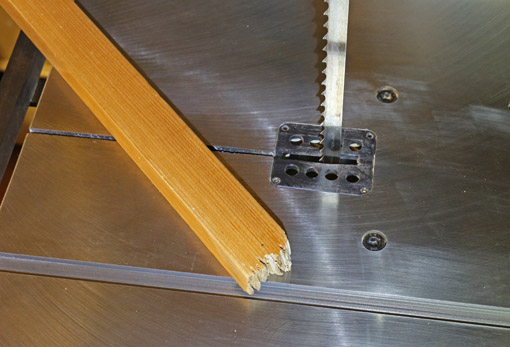
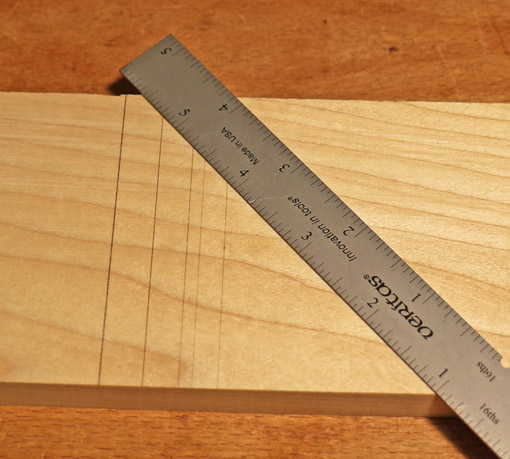
The most important step in efficiently forming true curves in solid wood is to saw consistently to a good layout line. However, there will inevitably be some lumps and bumps in the sawn surface, so the curve must be “faired” to make it pleasing.
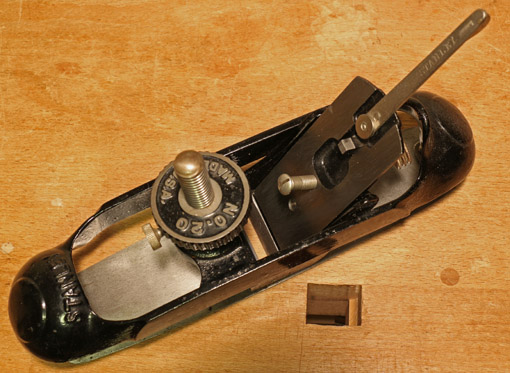
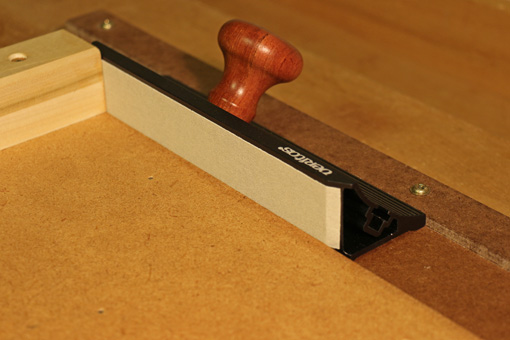
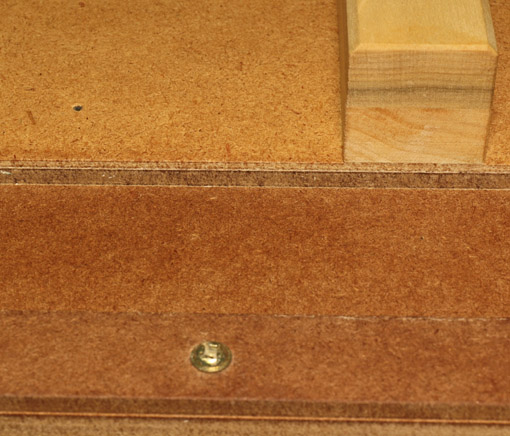
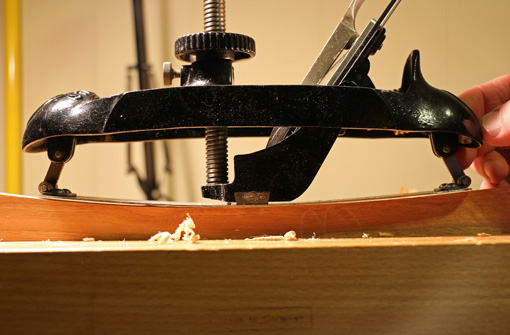
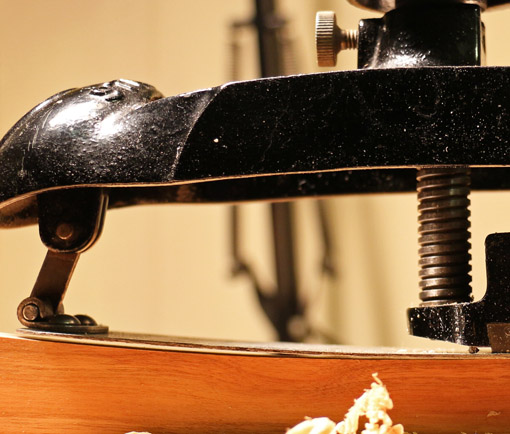
Key to using the compass plane is that the sole must be set a bit steeper than the work piece for concave (inside) curves (see photos above and below), and a bit shallower than the work piece for convex (outside) curves. Furthermore, the planing should proceed into downhill grain, that is, with the grain, which means you may have to turn around often. Outside curves are generally easier to negotiate, and shallow ones can often be worked well with a flat-sole plane such as a block plane.
This all sounds good except that most of the interesting curves in woodwork have a varying radius (i.e. are not circular) and some reverse from inside to outside. So that means a single sole setting is ideal for only a relatively short length of curve. As a practical matter therefore, for inside curves, the sole is set to accommodate the steepest portion of a length of curve that you choose to work in which the radius does not vary too much. It is a matter of feel and judgment. Which is to say that these planes are not very practical for abruptly changing curves.
Because we want the plane to remove lumps and bumps, the shavings, especially early on, will mostly be short, and the cutting edge will engage and disengage the wood as you take fairly short strokes. Then as the fairing proceeds, the shavings will lengthen; that is, if the planets are aligned.
The compass plane is capable of fairing a nice gradual curve in the right circumstances and wood. Remember too, it can handle wide surfaces that are difficult to manage with spokeshaves and rasps.
Also, it is often helpful to initially remove some of the roughness of the sawn surface with a rasp (not a sanding block) to avoid a very rocky ride in the early stages of planing.
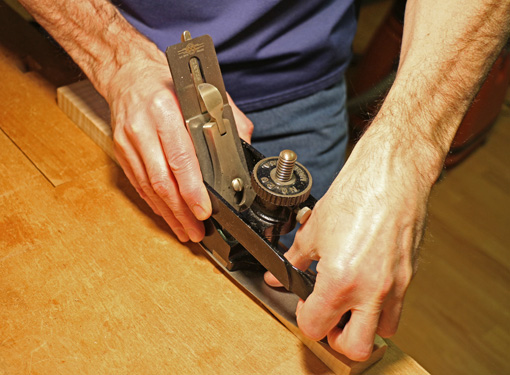
The anatomy of the compass plane does not permit it to transmit the wood-hugging stability that we expect from a good bench plane. I like to make the ride firmer and improve my feel of the plane’s interaction with the wood by placing my right hand as low as possible at the heel, sometimes with my fingers touching the top of the sole plate. Meanwhile, the palm of my left hand hugs down on the nose as my thumb reaches down onto the sole plate.
Ultimately, it’s not about the tool, it’s making the product come out the way you want it that counts. I’ll use whatever tool it takes to produce the desired curve in a particular wood. Sometimes, that’s the compass plane.
Next: scouting reports on each player on the tools for curves team.