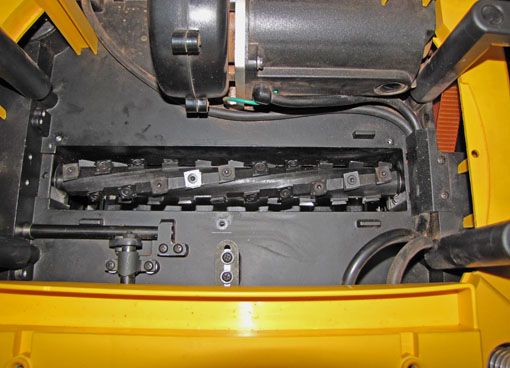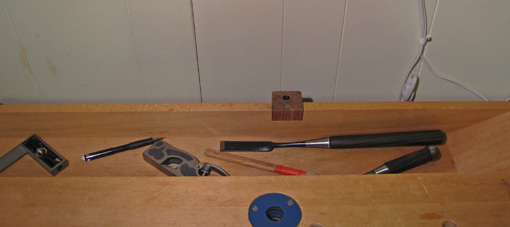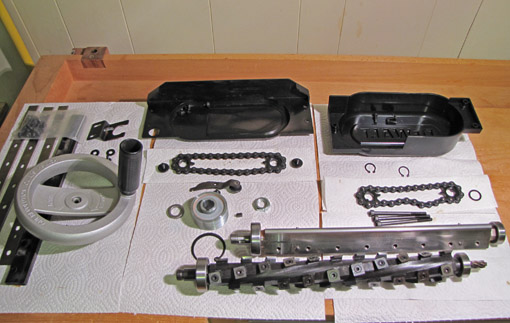
The Byrd Tool website has outstanding illustrated step-by-step instructions for the DW735. The photo above shows the parts laid out after the OEM cutterhead was removed. It is without its blades just behind the Shelix in the photo above.
Referring to those instructions, here are a few helpful tips:
- Step 4. The cutterhead lock cannot be reinstalled with the Shelix which does not have a flat on its shaft.
- Step 10. Also remove the rocker tensioning arm (it is removed in the second photo in Step 11).
- Step 11. It is difficult to remove and reinstall the nut on the end of the head. It seems to be about 22mm is a 23 mm hex (per report from a reader, see comments) for which I do not have a socket head. I used a locking pliers on the nut and gripped the pulley with grip gloves.
- Steps 13 and 15. You need a snap ring tool for this installation. The small external snap rings in step 15 are delicate.
- Step 14. There are 3 screws on that cover, not 4.
- Step 22. Removing the helical gear from the OEM cutterhead is very difficult. The ridiculously tiny hexhead is very hard to grip, and it quickly gets rounded. Locking pliers finally worked. The same goes for reinstalling the helical gear on the Shelix. In order to tighten it, I needed a helper with heavy gloves to grasp the cutterhead which I wrapped in layers of cloth. Yes, it is standard right-hand thread, in case, like me, you have doubts when trying to remove it from the DW head.
- Step 24. The supplied plastic cover sheet helps a lot but cut it a few inches narrower.
- Step 25. The bearings fit VERY tightly in their housings. Lots of pounding with a dead blow hammer is necessary to seat them.
Next: the Shelix design and its performance in the shop.

