Let’s explore a simple method to verify the alignment of jointer knives, which is necessary when changing or adjusting them.
The first goal is to have all of the knife edges across their full widths in a consistent relationship to the outfeed table. The top of the arc of the knife edge should be very slightly above the level of the outfeed table. Secondarily, perhaps after the edges wear down or the jointing performance needs adjustment, the overall height of the outfeed table can be tweaked.
There are several good approaches to dealing with this, some involving dial indicators and specialized accessory equipment, but I prefer a low-tech method. Though well-known, how accurate really is it?
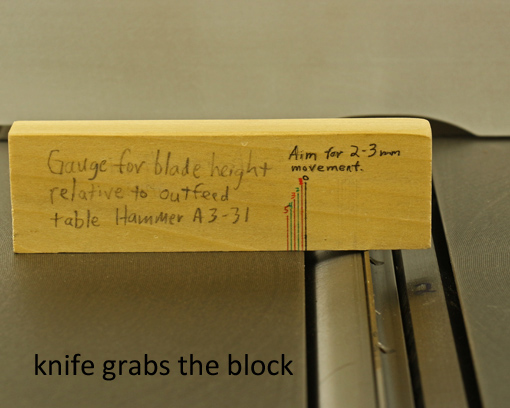
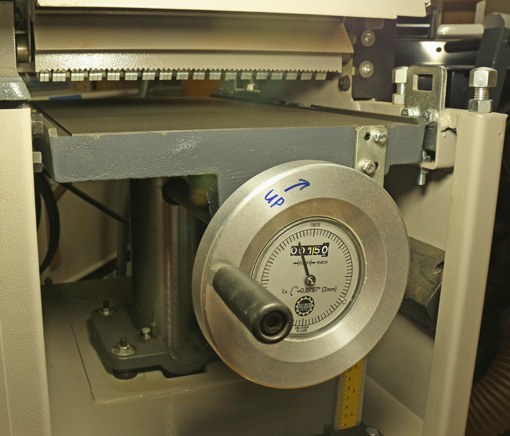
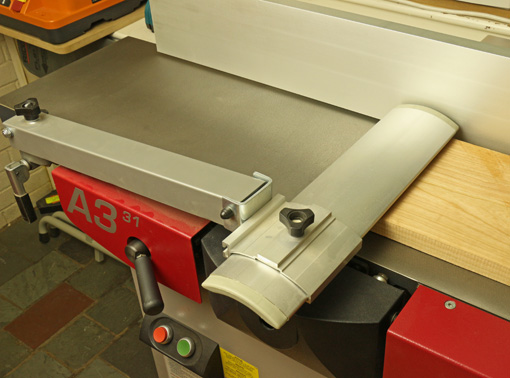
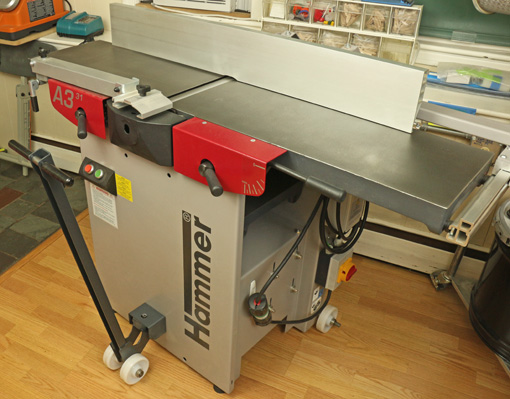
Here is how I perform the test, starting with unplugging the machine. A block of wood, about 3/4″ thick x 1 1/4″ x 4 ½” long is carefully jointed (by hand) and marked with 1 mm gradations. As you can see, I like to label the jigs I make with a description and reminders. It is placed in a reference position on the outfeed table (photo above, at top).
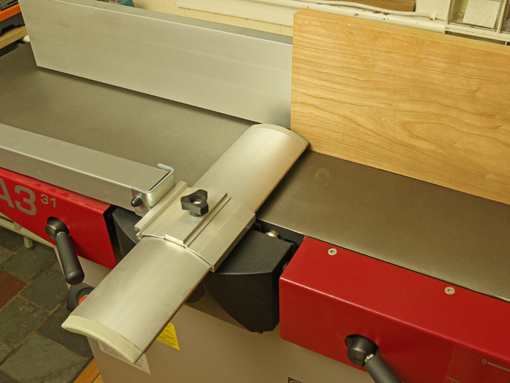
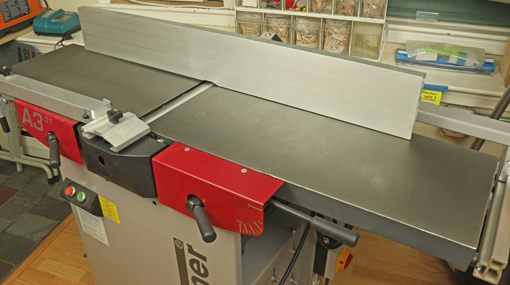
Then, the cutterhead is carefully rotated by hand to allow the knife edge to “grab” the block and advance it through the portion of the edge’s arc that is above the level of the outfeed table. The block is deposited as the edge “lets go” and continues its arc below the level of the outfeed table. (Photos below.) Note that a wooden test block is better than a metal ruler, which the edge doesn’t grab well.
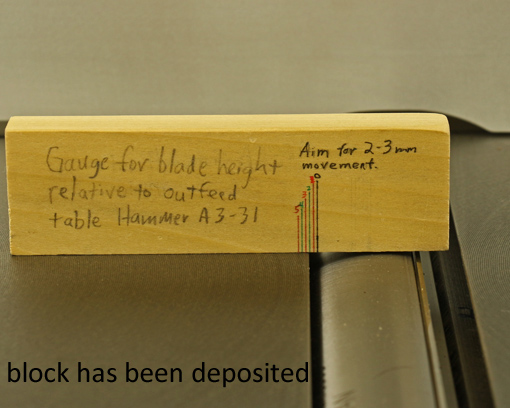
The beginning and end of this arc define a tiny chord of the knife flight circle. The height of this chord is the amount of projection of the knife edge at its highest point above the outfeed table. The test is repeated at three or four places across the width of each knife.
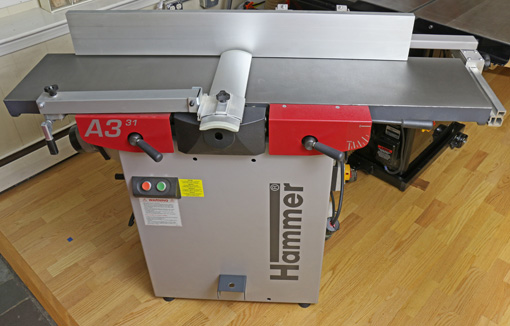
Now let’s correlate this height with the lateral travel of the test block, which is the length of that tiny chord. A mathematical formula involving the Pythagorean theorem gives the results, tabulated below, for the 72 mm cutterhead knife flight circle on the Hammer A3-31.
Knife
Projection Chord Chord
(inches) (mm) (inches)
.0005 1.9 .075
.001 2.7 .106
.002 3.8 .151
.003 4.7 .184
.004 5.4 .213
.005 6.0 .238
.006 6.6 .261
The method is very accurate! A mere .001″ of knife projection moves the block 2.7mm, which is easily distinguishable from no movement, which signifies no projection.
However, note that the relationship of the knife projection to the advancement of the test block is not linear. The first thou of height advances the block 2.7mm – about 3mm. However, a height difference from .002″ to .003″ only advances the block about one more mm (0.9mm).
Fortunately, I want the knives to be a only about one thou, two at the most, above the outfeed table so all I have to do is see that the block advances about 2-3 mm, or 4mm at the most, and do so reasonably consistently across the blade width, for all of the blades. Indeed, the Hammer manual recommends 2-3 mm of travel.
So, there it is: a low-tech, accurate method. But now, after having analyzed it a bit, I have more confidence in it and can use it more intelligently.
 Heartwood readers, I invite you to check out Craftsy, an online craft instruction site that has recently added woodworking to its blog repertoire, with