Creating the camber
There doesn’t have to be high art in producing the camber. On a coarse diamond stone, I start by leaning the blade to the left and slightly raising the right side. It is important not to overdo this. I then gradually reduce the lean, keeping aware of the approximate number of strokes, and blend the camber through the middle. Then I repeat this on the opposite side.
On the Tormek grinder with the older SVH-60 blade holder, I would lean on the slightly flexible guide bar to create some camber. The newer SE-77, which I will cover in the next post, is more controlled. The camber can be refined on a medium stone. Mild camber, such as in a high-angle, bevel-down smoother, can also be refined when honing the secondary bevel.
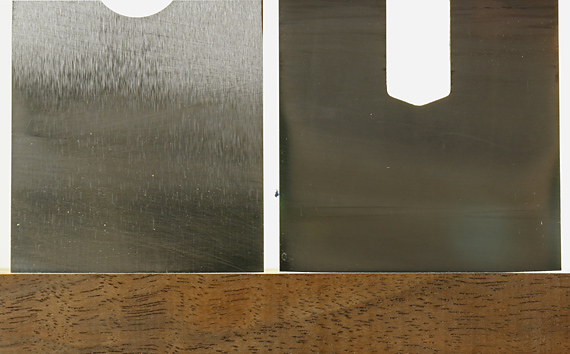
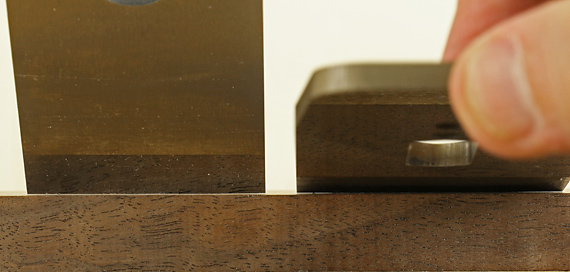
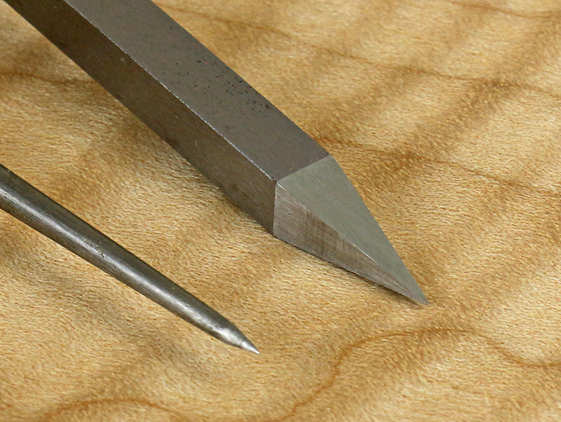
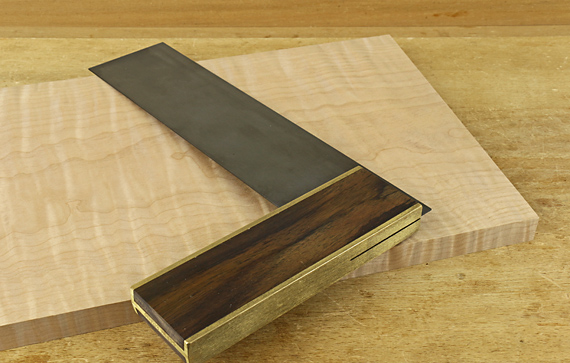
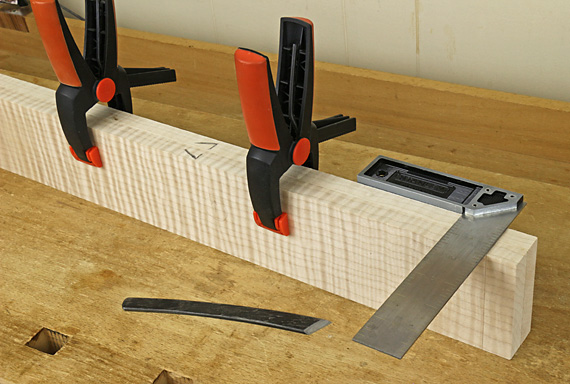
It is easy to underestimate the amount of camber by just looking at it without a straightedge reference, so I check the camber by holding a small, wide aluminum square (straightedge) against the edge and observe it against mild backlighting. Eventually, one can reliably relate the appearance to the performance on wood. Again, I do not measure it, nor recommend that as a habit.
If you overdo the camber, the nose of the blade will dull first, so when you go back to the stones to clean up the secondary bevel, some of the camber will automatically be reduced.
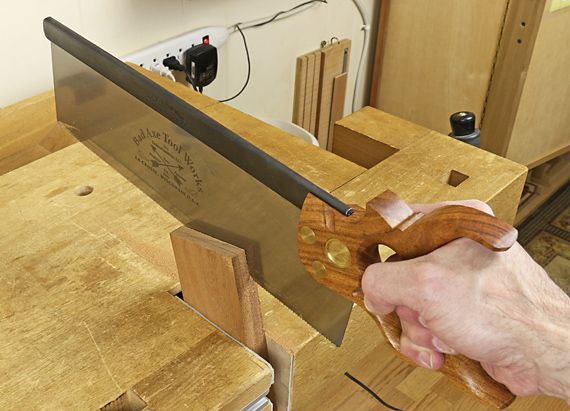
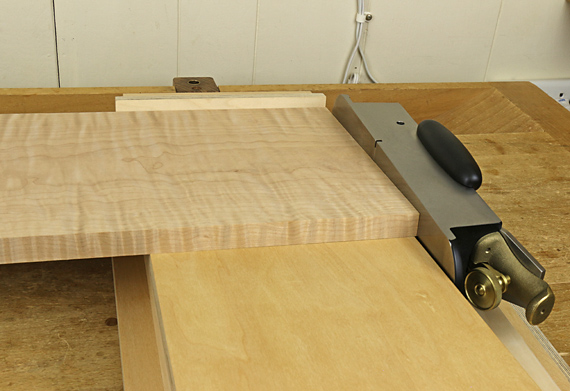
Skewing the plane
Skewing the plane at a typical angle used routinely has no significant effect on the camber function. However, an extreme skew angle, such as the 45° shown in the top photo, or even 60°, can occasionally be used to advantage to get the plane to pull a shaving from an isolated area, such as to correct a bit of tearout.
This is really just playing with how the plane sole bears on the surface contour of the board. The full camber depth is retained but is effectively spread over a shorter length of blade. (The plane stroke is still about parallel to the length of the board.) With some trial and error, you may be able to get the blade to “reach down” into a localized area.
Camber the chipbreaker too?
Very small differences, on the order of .1mm/.004″, in the setback of the chipbreaker may affect planing performance, at least according to this Japanese experiment. Should the chipbreaker therefore have a camber that matches the blade to create a consistent setback? With a straight-edged chipbreaker on a cambered blade, is there a difference in the shaving characteristic or wood surface across the width of the blade that cannot be explained by the difference in shaving thickness?
In theory, maybe so, but I have only rarely encountered advice to camber the chipbreaker. It also seems like too much trouble, so I don’t do it. Maybe it would help for a highly tuned smoothing plane. Any ideas, readers?

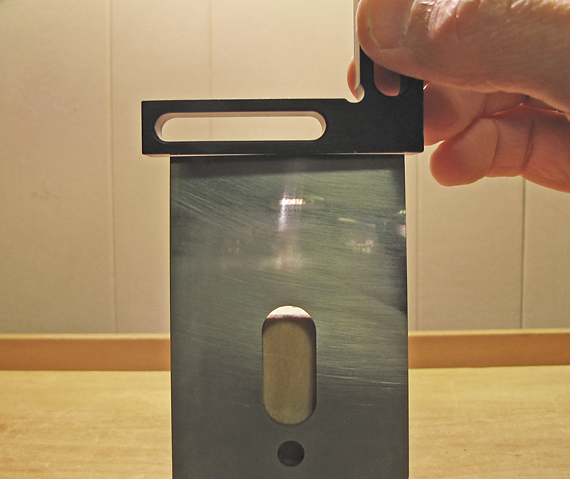
Next: the Tormek SE-77 jig