Author Brendan Bernhardt Gaffney has produced a biography of James Krenov that anyone even slightly interested in the subject will want to read. For those for whom Krenov has been a major influence, and there are so very many woodworkers, including me, in this group, this book is a must-read.
The depth, breadth, and detail of the research demonstrated in this book are truly impressive. As the author states, it “spanned four continents, six languages and hundreds of interviews” and “thousands of hours.” Even if you have already read, as I have, all of Krenov’s books and lots of related articles and interviews, this book presents vastly more. It is fair to say that you do not know Krenov until you have read this book.
Rather than overwhelming the reader with this mountain of information, Brendan does a wonderfully intelligent job of organizing for the reader the rather complex life of James Krenov. This has helped me further understand the many influences on the development of his craft and what drove him.
No hagiography, this book does not shy away from uncovering the less pleasant, or at least more difficult to understand, aspects of Krenov. Showing the subject as a real person rather than an icon makes for a much more powerful biography. Along with this, Brendan seems thoughtfully aware of how his relationship to Krenov’s work and teaching can influence his role as biographer.
I will mention a few quibbles. In some areas, I think the writing and factual accounts could have been made more compact, while it would have also helped me if some of the life landmarks were restated. I suggest for a future edition to add a two-page layout of a timeline of the subject’s life to guide the reader. I also found myself confused by the overuse, in my opinion, of semicolons.
The best compliment I can pay is this. As Brendan presents all of Krenov – his genius, his contradictions, and the remarkable patchwork of his life – he offers mature, judicious insights into how the many elements relate. Yet, he does this sparingly and modestly, leaving the reader plenty of room to draw his own inferences about Krenov. Moreover, the sheer thoroughness of the book equips you to do that. This is a fine line to walk and Brendan hits it just right.
One more thing: one evidence of the artistry with which Brendan has approached this work is on pages 248-249. There, facing pictures of James Krenov with a book in his lap as a studious-looking boy in Alaska and as an old man with an easy smile in California bring to mind the uncertainty and beauty of life’s journey. A “quiet joy,” of which Krenov spoke, after all.
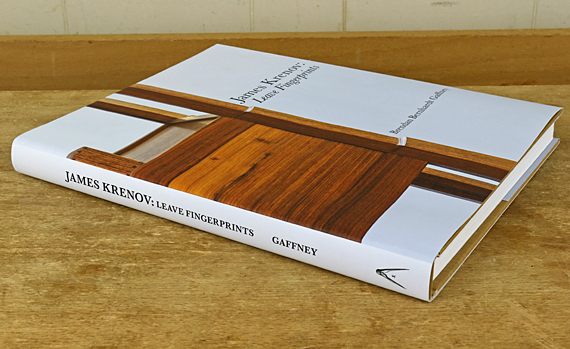
The book is beautifully published by Lost Art Press.