Here are the dovetail angles that I use. There is more than one good way to do almost everything in woodworking, and there are many situational exceptions, so these are not absolute. I do, however, know that they work. For the most part, they conform to what is usually written and taught, but here I also offer explanations for the various options.
My go-to angle for through dovetails in most hardwoods is 7:1 (8.1°), such as for a carcase or box in cherry, maple, or walnut with stock thickness of 9/16″-13/16″. It has enough angle to form a strong mechanical lock but not too much to produce fragile tail corners or overly fussy fitting. Vulnerable tail corners can be annoying in the making stage even though they are shielded after assembly.
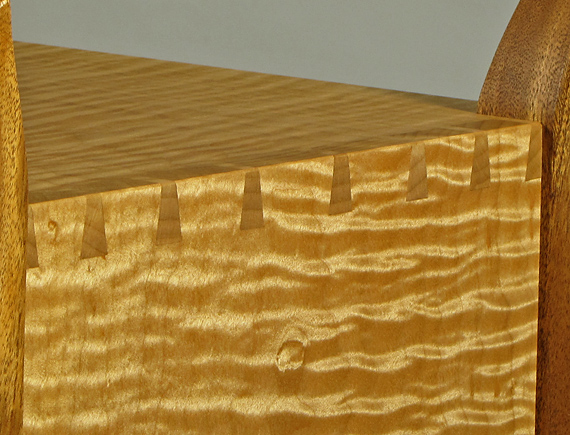
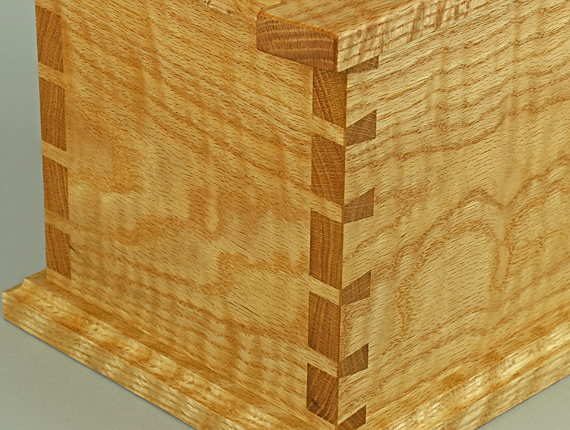
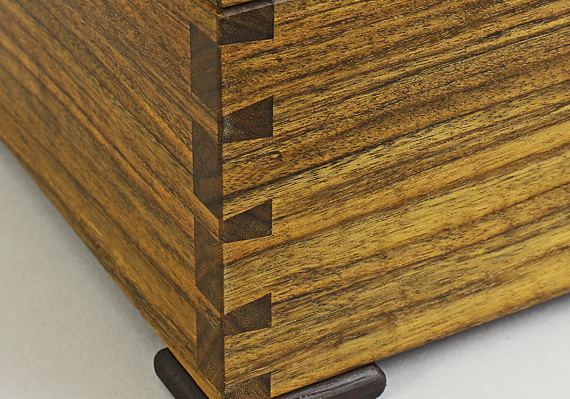
For more brittle, harder woods such as the curly oak shown below, I prefer 8:1 (7.1°). This helps to prevent chipping at the corners of the tails but still provides enough mechanical lock because the wood is less compressible. For the ovangkol small chest shown in the second photo below, I used 7:1 but the wood proved to be harder and more brittle than I first thought, so maybe I should have used 8:1.
For softer, more compressible woods such as pine or aspen, 6:1 (9.5°) works well. The steeper angle produces more mechanical lock, and chipping is not a concern.
Half-blind dovetails are a different matter. The shorter length of the tails usually requires a little more slope to create a good mechanical lock. 5:1 (11.3°) works well in most cases. It also just looks right to my eye. This study drawer with poplar sides and pear front that I keep in my shop is a good example. Using a harder wood for the sides and/or a thicker front (longer tails), I would consider 6:1, ultimately going with what looks right.
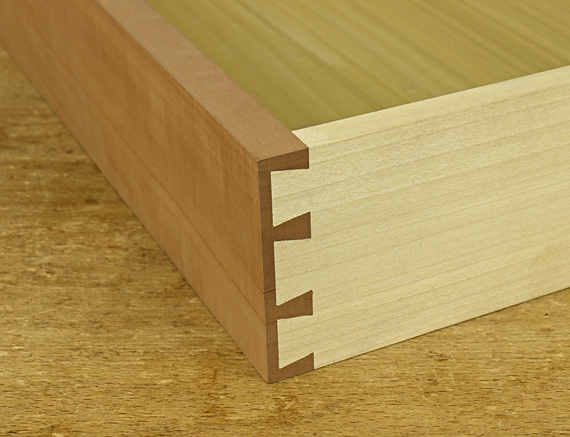
Through dovetails in thin stock deserve similar consideration. Very generally, for thin pin stock (shorter tails) consider using a bit more slope than for similar circumstances in thick stock.
Interestingly, in all of this, the mechanics and the aesthetics seem to dictate the same answer, and not, I think, by coincidence.
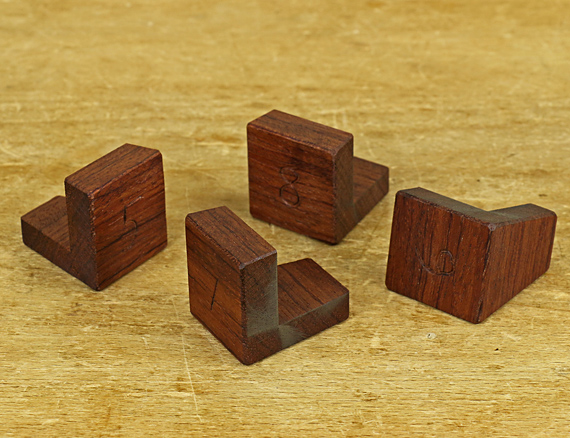
I have been using the shop-made bubinga markers shown in the photo at the top for many years. Unlike most commercially produced markers, they allow you to mark the entire length of the line on the face grain and end grain with one positioning. I detailed their construction in an article in Popular Woodworking, November 2009, issue #179.


Dang, I wish my dovetail joints look that good! Beautiful choice of wood too.
Thanks for all your helpful posts Rob, keep them up please.
Happy Holidays
Steve
Thanks, Steve. I’m so glad the website is helpful to you.
Rob
Hi Rob-
I went to the Pop Wood web site and had a heck of a time finding your article for making the dovetail guides. I tried to download the issue and the link went to the bit bucket.
Is there any source of your article I can download or receive. It is just to valuable not to be able to download.
As usual, great work on your part. Keep up the work!
— Steve.
Sorry about that, Steve. Eventually, I’d like to get the directions up on my site but in the meantime send me an email and I’ll try to help.
Rob
Hi Rob-
Thanks for the offer.
I was able to finally find the magazine issue on their website. Luckily, to day was a slow day and I had some time on my hands.
For those interested, do a search of back issues and look for November 2009.
— Steve.