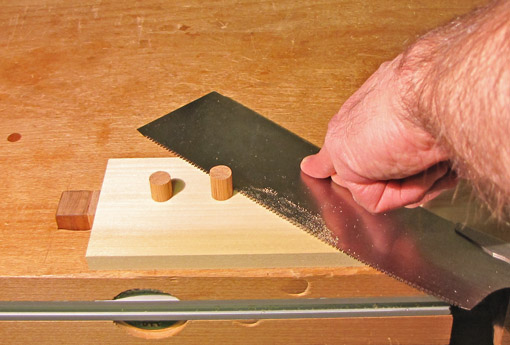
Finishing off dovetails, through tenons, and joint pegs often involves crosscutting projections of wood flush with the surface. Here I will discuss a few common ways to do this, each with its own set of problems, and present a simple solution that does not require a dedicated saw. Hint: the trick is hidden in the photo above.
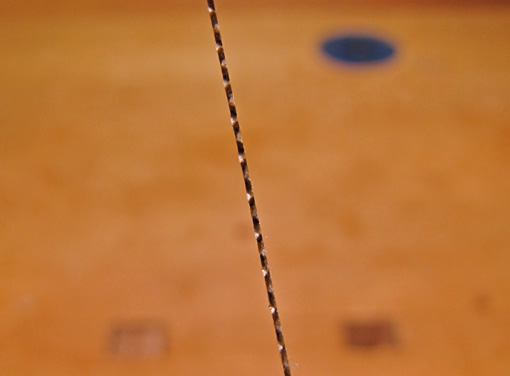
The flush cut saw is one approach. This is a specialized saw with no set (see photos below) on either side, most commonly with a Japanese-style crosscut tooth pattern. A portion of the very thin and flexible saw plate can be laid flat and pressed against the wood while the handle end is raised to grasp. If it is initially prepared for use by stoning away the minute burr from the manufacturer’s sharpening, it leaves a perfectly smooth surface, with virtually no cleanup paring required.
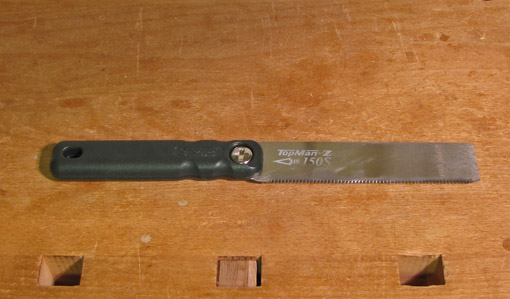
No set:
However, not surprisingly, this type of saw has a strong tendency to bind, even 1/2″ or less into the cut. For a through tenon, you can avoid binding by making multiple approaches at the projecting wood from different sides, but this is usually not possible with dovetails.
Veritas addresses the binding problem with their flush cut saw, which has set, but only on the upper side. Binding is eliminated, but the saw inevitably tracks away from the surface, leaving a significant amount of wood remaining to pare, especially in wider cuts. I find this annoying, and also do not like the lack of control when sawing. The set could be reduced but with a concomitant tendency to increase binding.
Here’s the simple solution using an ordinary flexible backless saw with a normal set. A Japanese crosscut kataba saw such as the Gyokucho 05 model works very well. It is very straight with very consistent set.
First, determine the amount of set. I used dial calipers. The 05 saw is .028″ thick at the teeth and .020″ on the plate, which means the set is .004″ on each side. Feeler gauges or trial-and-error could also be used.
Apply strips of blue tape on one side of the saw to slightly exceed the set. I used 3M #2080 tape, which is .003″ thick. I applied two layers, .006″, to build .002″ above the set. Enough of the saw plate is covered to give a reliable registration of the taped surface against the wood, while enough of the saw is free of tape to permit a useful depth of cut, about 3/4″ in this case.
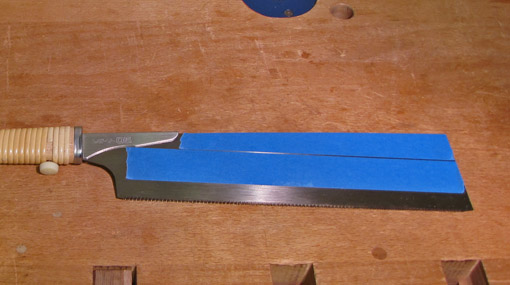
Flex the saw against the work, taking care to apply light pressure with your fingers on only the taped portion (see photo at top). Saw with a gentle pull stroke and avoid pressure on the return stroke. Here’s what you get:
- No binding, since the set can do its job.
- No drifting, since the set works on both sides of the kerf.
- It’s fast because it is a normal saw functioning in a normal manner of cutting.
- There are no scratches on the work.
- No specialized saw is required! Remove the tape when you’re done; it leaves no adhesive residue.
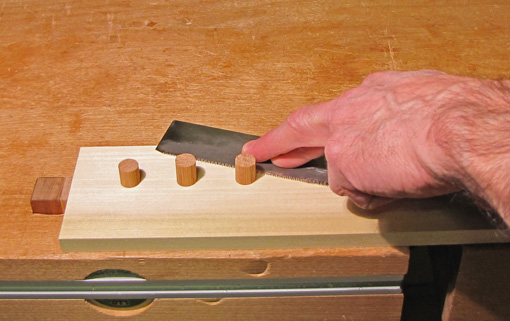
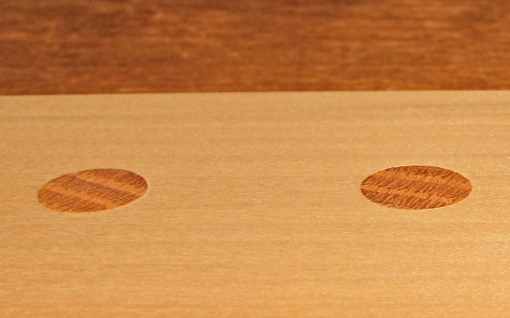
- The amount of residual wood is miniscule. In theory, in my setup, it is .002″, but in practice it is less, barely a thou, and disappears with an extremely light pass with a paring chisel. In the photo below, taken before any paring, the oak peg on the right was sawn with a flush cut saw, the one on the left with the taped 05 saw.
One alternative is to position paper on the wood enough away from the projection to give clearance for the saw teeth. This may work but the paper can slide (and you may not see that), and if you press on an unsupported area of the saw, you can drive the side of the teeth into the wood. Another alternative, good for some situations, is to simply put tape on the wood, positioned clear of the saw teeth, but that is usually more trouble than preparing the saw with tape.
An awkward method is to put a card or paper under the saw, right up to the projecting wood. The problems are that the teeth scrape the card, and the elevation of the teeth above the surface will be inconsistent as you proceed. With thick card, the residual projection becomes too large and inconsistent.
Another option is to tediously rig a router, maybe using a flush trim bit for corner work, bring 22,000 screaming RPMs down upon your carefully-cut and almost-finished joinery, and say a prayer. You can if you want.


Hi Rob,
I worked out the exact same approach. For the tiny bit that needs to be further pared flush, if it’s far from an edge where I can’t reach with a chisel, the L-N Chisel Plane gets dusted off.
I use a flush cut saw with no set and just wax the blade to prevent binding.