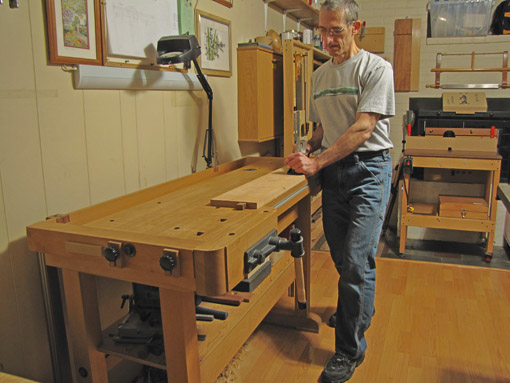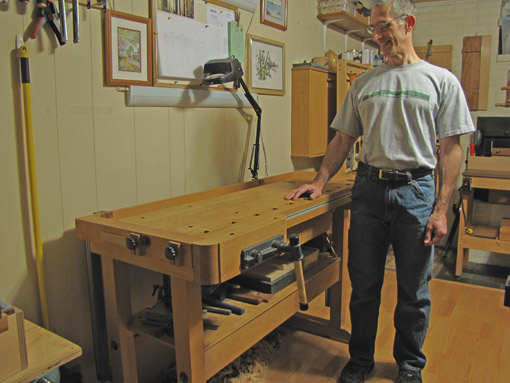
Here is a practical way to choose the height of the workbench that you are planning to buy or build: First, consider the tasks you will commonly perform at the bench. One height will not be ideal for all of them. So, prioritize them, and then try out heights for the major tasks.
I think this method is better than a formula. The most commonly quoted of these states that the top of the workbench should be at the level of your palm when you stand with your arm straight down with your hand extended forward, or simply at the level of your wrist. That might work for you but it might not. I know it does not work for me.
I dissuade you from using a simple formula because this is a personal matter like many aspects of craft. It is not only your height and arm length, but also your back, neck, eyes, posture, and style of work that come into play. The best way to integrate all these factors is to simply try out different heights. Here’s how.
First consider your tasks. As an example, here is my list.
Very common jobs, at which I often spend a long time: planing, sawing dovetails and tenons (sometimes using an auxiliary vise), chopping joinery (often while seated), shooting, scraping, sanding, and finishing.
Shorter duration or less frequent tasks: marking out, paring, sawing with the bench hook, and assembly.
Machine work at the bench: mortising with the router, Domino and biscuit joinery, and using a benchtop drill press and portable electric drill.
Maybe you do lots of carving or inlay, maybe you do all your joinery with machine jigs and the bench is mostly for fitting and sanding, or maybe you prepare all of your stock by hand, and so forth. Remember too, that workbenches are not saw horses; ripping and crosscutting stock to size with handsaws require much lower support.
The next step is to use a sturdy table, Workmate, or a friend’s workbench along with some clamps, and stack/remove 3/4″ or ½” plywood or MDF on it to create various heights to try out the tasks on your list. Pay attention to:
- your posture – neck, shoulders, back, core, knees
- reach
- range of eyesight
- how you tire
- any physical limitations you may have.
Find what feels right for you. Your most common and long duration tasks should govern your final choice of height, along with some accounting for the other tasks.
If you are getting a new bench, you get to choose, of course. However, you can easily raise an existing bench by attaching blocks at the bottom. While lowering a bench is a bigger job, it can be done because you’re a woodworker.
There are other approaches. Adjustable height benches and plans to make your own are available which could be used as a primary or secondary bench. Japanese woodworkers do much of their work on the floor and on an angled heavy beam.
In summary, I suggest forget the formulas and trust yourself. You will, after all, be spending a lot of hopefully happy hours at the bench.

This is what works for me, but who cares, find what works for you!


Rob,
Good approach to a potentially challenging issue. You mentioned lowering the bench if it’s too high, of course, the other approach is to raise the floor. Besides a traditional piece of 3/4 plywood or wood mat made out of T&G planks to stand on, there are several types of anti-fatigue mats that can get you an extra 3/4 or inch and the extra padding might help with other problems.
Happily the fact that the benches are relatively shallow in depth helps to simplify the “calculation”.
Just curious Rob, do you have a scientific background? As a chemist myself, I find that many of your posts are so thoroughly and meticulously written that they read like a scientific report. And that’s a great thing!
Thanks!
Joe
Joe,
Thanks for the comment. I hadn’t thought of the floor option.
Thanks for the compliment regarding the posts. The answer to your question is yes.
Rob