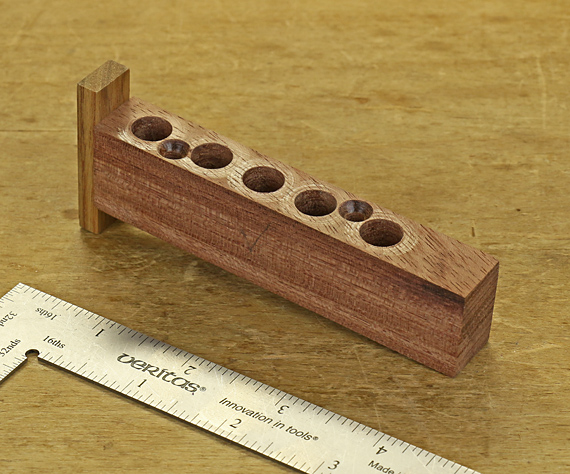
The dowel jig for this joint is simple but it must be accurate. Use a fine-grained, very hard wood. I used some of my old stock of bubinga, one inch thick. The width of the jig must fit snugly into the dado, 5/8″ in this case. A little extra length helps in handling the jig.
Make sure: all faces are flat and straight, the width and thickness are uniform over the full length, and adjacent faces are dead square to each other. Most woodworkers will use a table saw to make this little block of wood, as I did. Please be cautious working such little pieces, and make use of an appropriate work handling device. I like the GRR-Ripper for such work. It’s worth it.
Use a good brad-point bit to drill the 3/8″ holes. The drill press must be set up to drill true at 90° because the jig will be used from both drilled faces. If the holes or the body of the jig is out of square, the joint will be inaccurate and difficult or impossible to assemble.
The spacing of the holes is not critical but leave enough room for pass holes, countersunk at both ends, for two #6 x 1 1/4″ fixation screws. Attach a cleat with little screws at the end of the jig. It extends about 3/8″ beyond each drilled face, and will reference it to the edge of the workpiece.
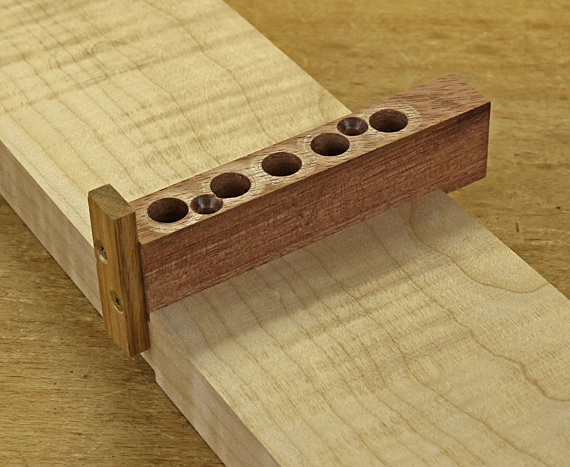
This is how the dowel jig will sit in the dado:

Next: using the jig.

