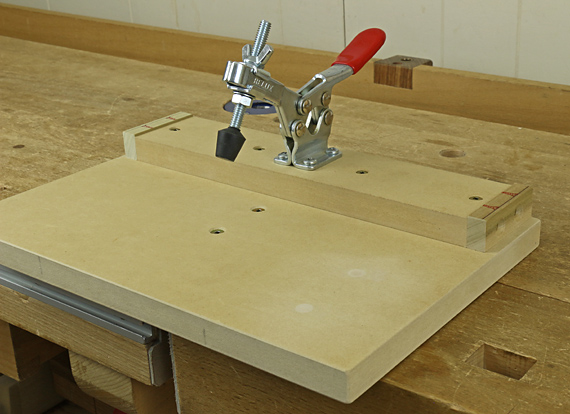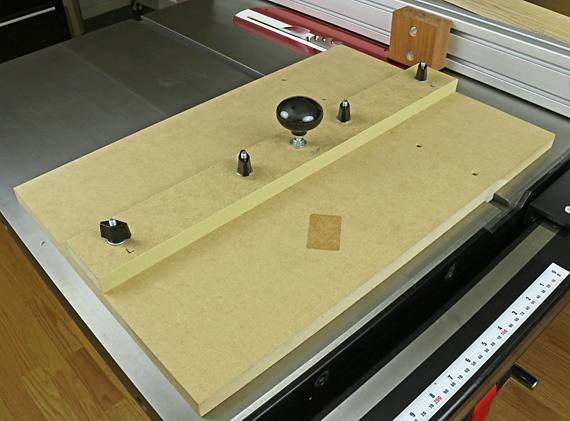
This simple jig makes it easy to produce highly accurate tenon shoulders on the table saw. Admittedly, it is a nicety, not a necessity, but I have been delighted with the consistently excellent results from it.
The special feature is that both edges of the fence are used, in turn, to register the work piece. This allows you to work from a single reference edge of the rail. This is hand-tool style – you do not assume the two edges of the rail are exactly parallel. Yes, they probably are, close enough at least, but I like potential errors to cancel whenever I can. Setting up a jig like this means I only have to be dead on once – when I make the jig.
This means that the edges of the fence must be absolutely parallel to each other. They are, within a thou.
Also, a sled is a generally more accurate way to crosscut on the table saw because the work piece does move against any surface. Of course, the miter slot must be accurately parallel to the blade for this jig, or for any device that slides in the miter slot, to work well.
Making the jig
The overall dimensions of the jig are 21″ x 14″.
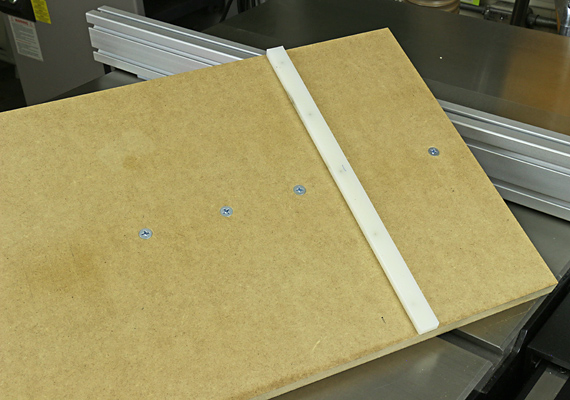
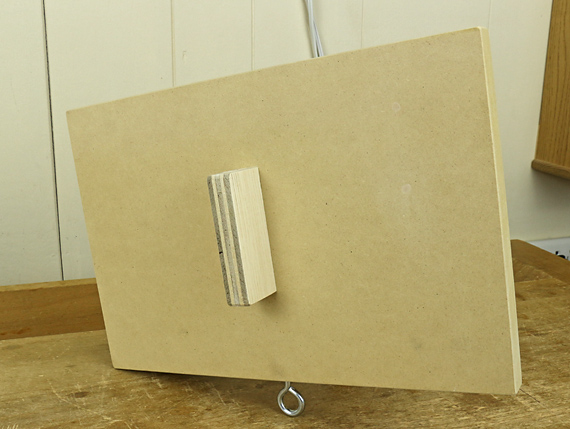
Trim the UHMW strip to a snug fit in the miter slot, and then attach it to the 3/4″ MDF base of the sled using screws entering through the top. Locate the runner so that there is a little bit of the base extending to the right beyond the blade. Then, trim the right edge of the sled by sliding the base in the miter slot. The other three edges of the base are not critical; cut them only for a neat appearance.
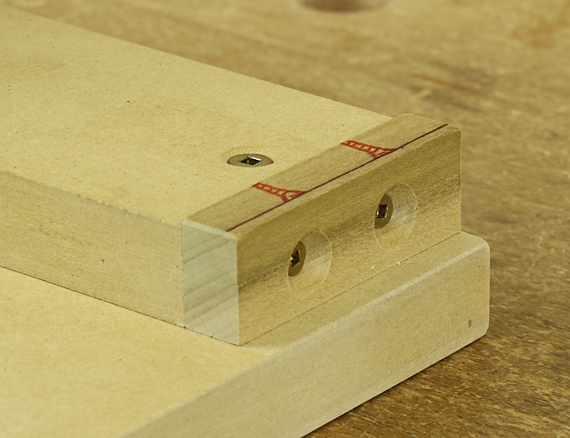
The fence is 3/4″ MDF, 2 1/2″ wide. Stable, quartersawn hardwood is probably a better choice of material because it is easier to trim straight and square, but I got lucky when ripping this piece of MDF so I used it. Using 1/4″-20 flat-head bolts through the bottom of the base, attach the fence square to the right edge of the base. T nuts make it easier to tune the angle now, or later if needed.
Neatly add PSA 220-grit sand paper to both working edges of the fence. The big knob in the middle helps in maneuvering the sled.
In use
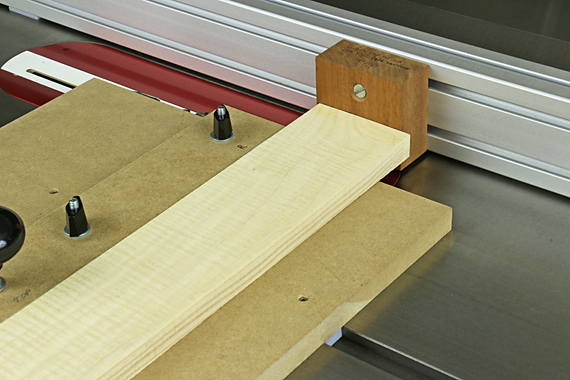
A stop block is easily added to my VSC table saw fence. Mark the reference of edge of the rail. Adjust the blade height. Remember to readjust the blade height if you are making a tenon that is not centered on width of the rail.
Cut one shoulder . . .
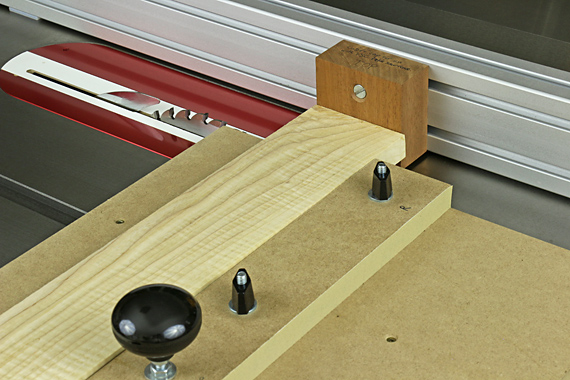
and then the other, using the same reference edge of the rail.
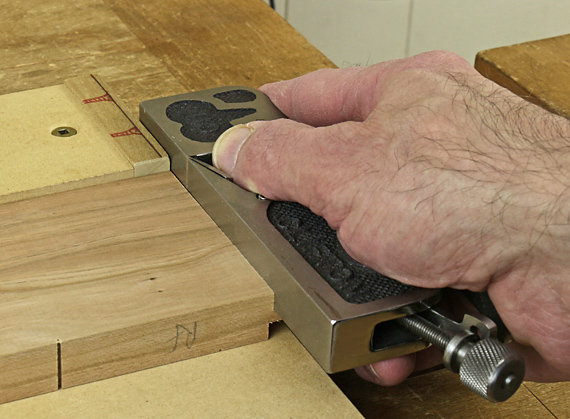
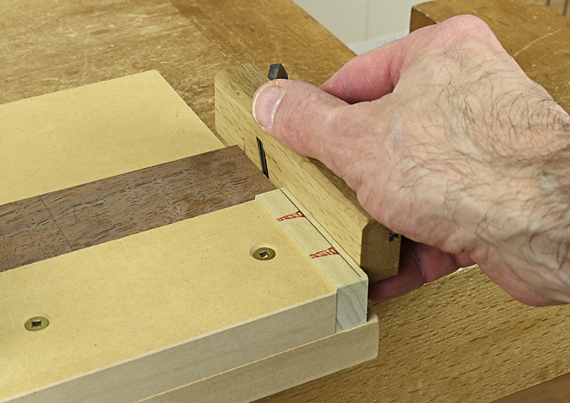
You also can make the little “connecting” (edge) shoulders with this jig on the table saw. However, errors can creep in. When the rail is held on its long edge, it can register differently against the stop block than when it is held on its face. This will result in the end shoulder(s) not aligning with the face (main) shoulders. So, I often prefer to do these by hand, which is easy.
As always, there’s more than one good way to get the job done.

