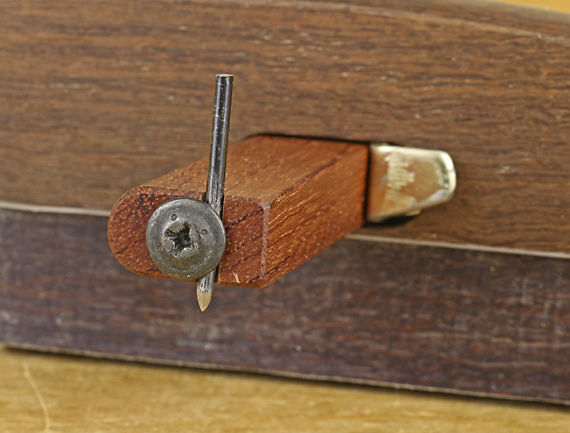
These conical and half-conical markers are strictly for use along the grain. There they make a wider groove than a knife point that is easier to see on its own, and easier to fill with a pencil to improve its visibility.
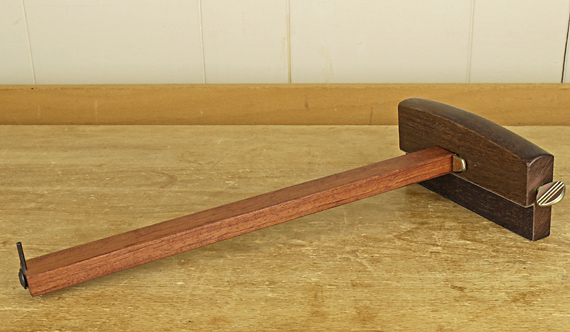
I keep the half-conical marker installed in my panel gauge because it is a bit easier to pull through the wood than a full conical point, and its flat face makes one side of the groove nearly square. For marking out the width of a panel, it is slightly better to orient the flat side of the marker toward the fence (and the keeper wood) and thus the bevel will be in the waste wood.
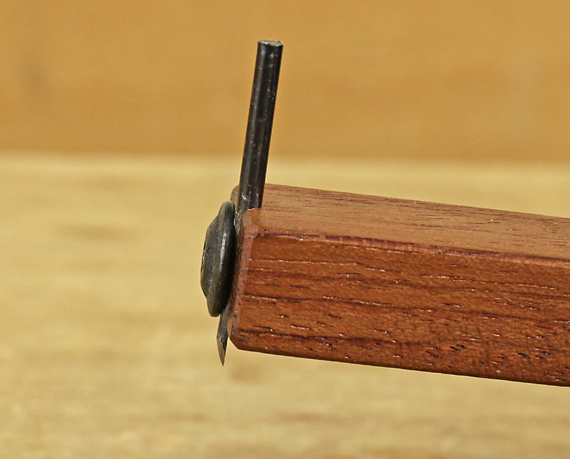
As a further refinement, you can rotate the point to make the flat face angled slightly away from the fence in the direction of travel of the gauge. This will help pull the fence toward the edge of the board similarly to the Japanese cutting gauge discussed in part 1 of this series. I usually like to pull the panel gauge.
A panel gauge has a stepped fence that keeps the long stem parallel to the face of the board and square across it. However, this prevents you from tilting the fence – and the marking point – as you would with a regular gauge that uses a point marker. Thus, it is all the more helpful that the half-conical point offers less resistance.
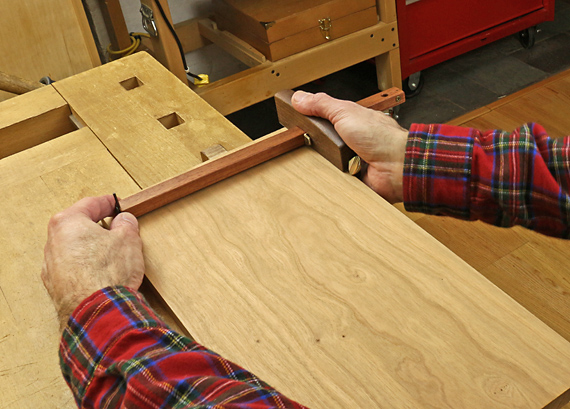
To make the fence ride easier, I attached PSA UHMW plastic to the vertical and horizontal working faces. In use, clamp the work piece and use your second hand to support the marking end of the stem so it does not catch and wander.
The conical point is handy for general work. It can be ground to a slimmer tapered point to slightly reduce resistance in the wood. These can be made by grinding the shank of a 5/64″ (2mm) drill bit. The half-conical point is more difficult to make and to find. Mine came from a very old gauge.
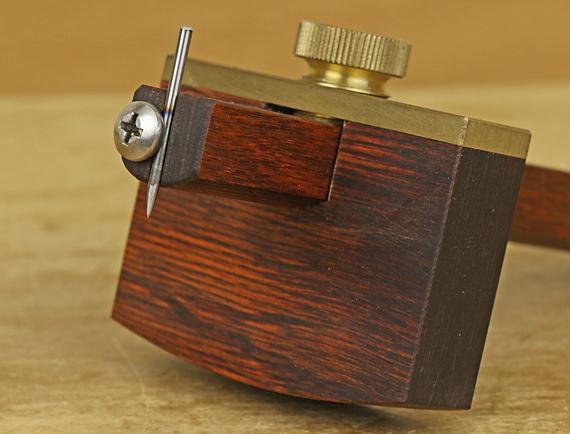
These marking points can be easily mounted to the end of the wooden stem of most gauges by simply sawing a small kerf and then refining it with a needle rasp. Locate a pan-head screw, or better, a lath screw, so a flat area on the underside of the head sits over the apex of the cylindrical portion of the marking point, thereby gripping it.
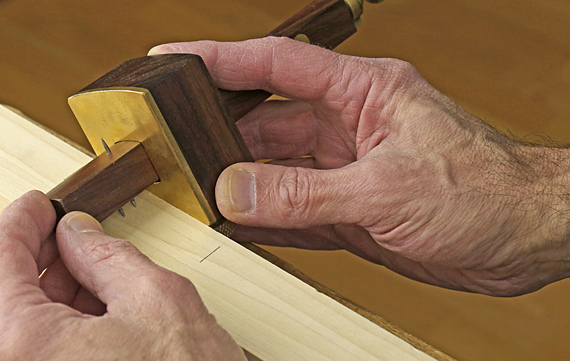
As I am demonstrating below with a mortise gauge, tilt a gauge that uses a conical marking point toward the direction of travel to make the marking action smoother. This avoids jumping, digging in, and inaccuracy.
Next: some options for gauging with a pencil

