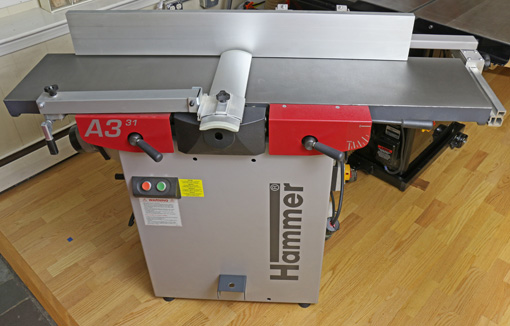
Having established in the previous post a rationale for this type of machine in a small woodshop, let’s take a look at the Hammer A3-31, which I’ve been using for the past two and a half years.
Getting it into the shop
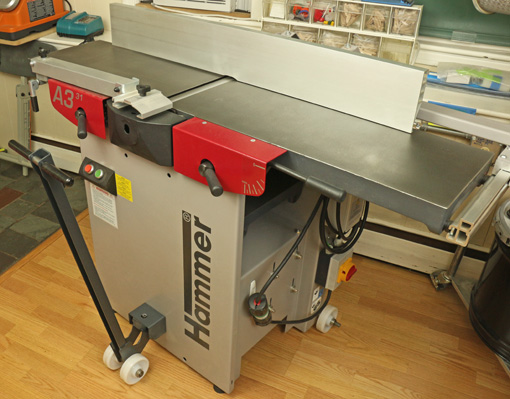
I’m afraid I must start with one of the few problems I have experienced with the A3-31: getting it into my shop. The mobility kit uses a single axle that attaches to the base parallel to the 55″ jointer bed, along with 4″ wheels that simply turn in one plane – they do not swivel. A lifting bar is inserted into a cleat near the bottom of the base of the machine to roll it in a straight line and make partial J turns.
The top photo shows the lifting bar in place. One wheel is visible at the lower right of the machine base.
The system works well in the shop but it will not get the machine through the 32″ doorways in my house or the 36″ doorway of my shop. To make matters worse, the A3-31 was shipped on a pallet built for a special narrow-fork pallet jack. I ended up having to transfer the machine from the pallet onto a dolly that I built and use plywood sheets to get it over doorway bumps – a big hassle. If you have a garage shop or other wide doorway, all of this is not a problem.
To solve this problem, I wonder if Hammer could include a short axle to attach to the base perpendicular to the jointer bed to be used with a matching cleat. It might work only with the jointer beds raised but that would be good enough to just get the machine through narrow doors. Hey, Hammer: this would help many small shop woodworkers.
Now on to happy issues.
In order of frequency, here are the most common concerns among woodworkers that I’ve heard and read about j-p combo machines:
1. Changing between jointing and planing modes.
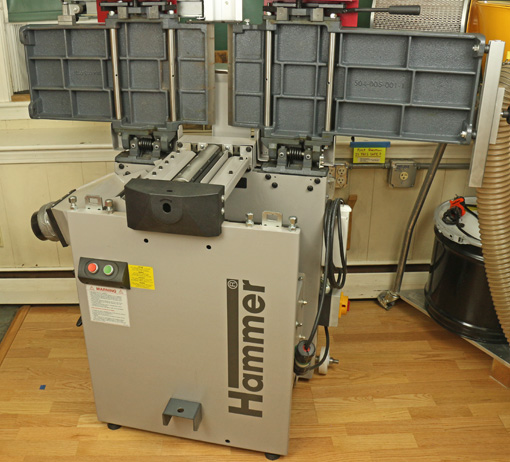
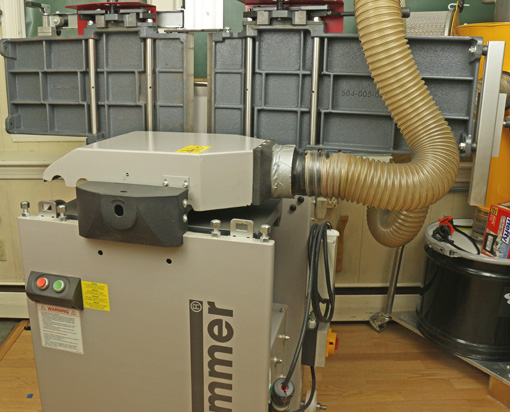
Fuhgeddaboudit. To go from jointing to planing, the fence stays in place. You lift the jointer beds as a unit, then flip the dust hood and reattach the hose. The tables remain parallel when raised so the effective width of the machine is approximately unchanged. The planer bed is cranked into position with an extremely smooth and fast mechanism. The jointer beds return to position precisely. Really, it’s all fast and easy.
Here are the beds lifted:
And here the dust hood is in place for planing with the hose attached:
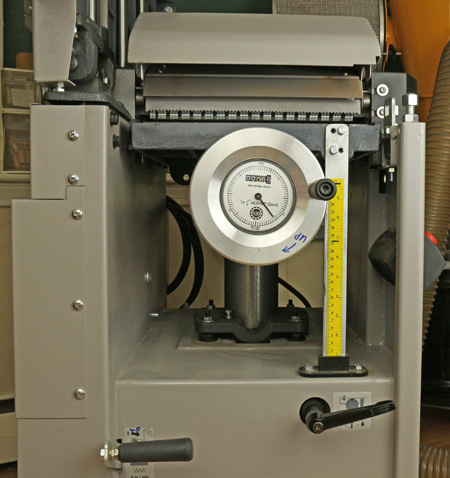
This is the planer infeed with the bed raised into place. The adjustment mechanism has the helpful, optional “digital handwheel.”
2. Jointer bed length
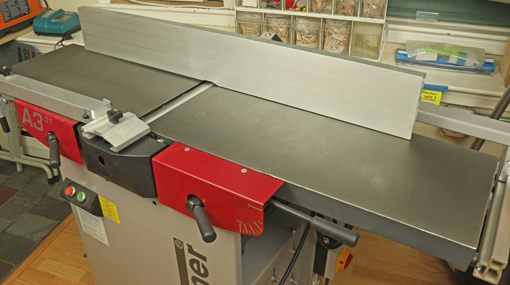
Is a 55″ jointer bed long enough? It sure is for anything I do. I have no problem routinely accurately jointing rough boards 6′ long. In my opinion, there is no need to have the entire board length supported on either the infeed or outfeed table to do accurate jointing.
If you want more length, Hammer offers optional extensions for jointing and planing that look like they attach very easily.
3. Dust collection
Can the dust hood contraption really work in both jointer and planer modes? Yes! The A3-31 is nearly perfect when used with my Oneida Mini Gorilla cyclone collector. It is the tidiest machine I’ve ever used.
4. Accuracy
Can a combination machine be as accurate as single function machines? This was my number one concern when contemplating the purchase.
For a given quality level, having used the Inca for many years, and now the Hammer, I say the answer is yes. I did have to do considerable work tuning the A3-31 to my liking but I’m a rather fastidious worker. (“Really, Rob? You? Get outta here, I wouldn’t have imagined . . .”) The key is that this machine can be tuned and it holds the settings. More on this in a future post.
5. Power and mass
Are these machines, in this size range, just toys for dilettantes? OK, now I’m getting a little annoyed. Just fuhgeddaboudit, OK? The motor is listed at 14 amps/220V and does not balk at planing full width boards. The mass of the beds, the quiet operation, and the results it produces are real deal.
[This extended review of the A3-31 and the general topic of j-p combo machines are unsolicited and uncompensated.]
Next: getting inside the machine.

