This is so easy. Shooting is a fast and accurate method for making a straight and square long grain edge on small boards, generally less than about two feet in length. This is far easier, especially for thin stock, than planing the edge while the board is held vertically in a vise.
Though shooting is mostly associated with truing end grain, I really don’t know why long grain shooting is not commonly discussed in instructional materials. True, it’s not absent but I think it should be included among routine methods.
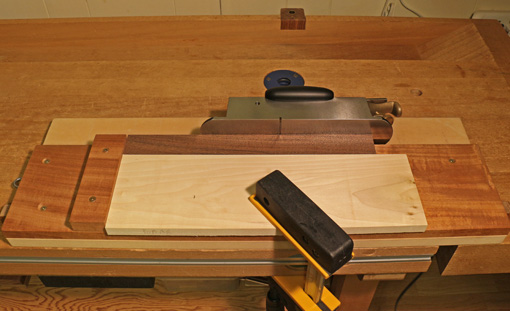
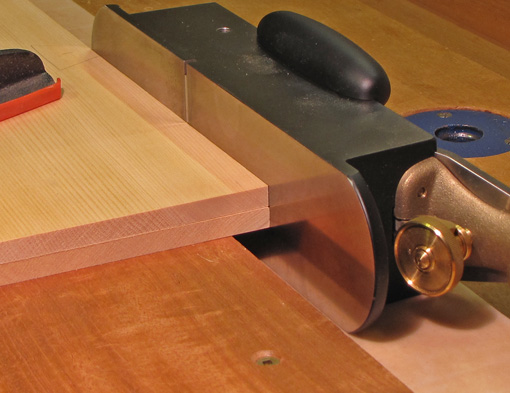
A long shooting board is helpful for this work. The long grain edge of the work piece should overhang the edge of the platform by a half-inch or so (see below), while the end is butted against the fence. For narrow pieces, especially a series of them such as drawer parts, I clamp an auxiliary bracing piece of plywood or MDF onto the shooting board platform, as in the top photo, to help my left hand steady the work piece.
The plane does not contact the vertical running edge of the shooting board platform that is used for end grain shooting. You simply control the plane to produce a straight edge much as you would when planing with the sole down – initially emphasize pressure on the toe of the plane, transition to balanced pressure, and finish with pressure on the rear portion of the plane.

I like my Lie-Nielsen #9 for most of this work, but really any bench plane, bevel-up or bevel-down, with a length appropriate for the work, will do. The “hot dog” handle on the #9 is very helpful to control the plane in all directions. Placing my fingers on the lever cap gives a good feel of the blade’s cutting action. When using a regular bench plane, I like to grip the arch in the sidewall of the plane and place my fingers over the lever cap. The contour of the Veritas bevel-up jack plane makes it especially effective to place the heel of the hand on the rear of the sidewall arch.
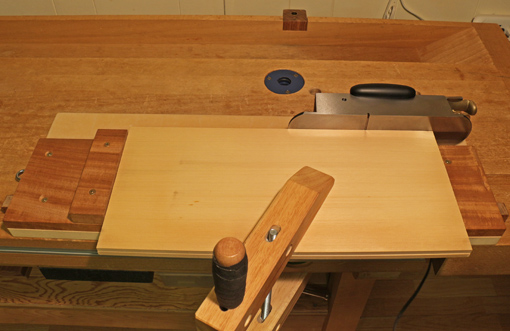
Medium to larger work is more easily and accurately managed by clamping it to the work surface. This prevents the work piece from yawing as you push the plane, which would make it difficult to produce a straight edge.
It is also possible to accurately set the auxiliary bracing piece, referred to above, to produce a parallel-sided work piece. This can also be accomplished by planing to a gauged line. No table saw is needed here.
A nice way to combine machine and hand work to make small to medium pieces with accurate and smooth edges, such as drawer parts, is to refine and smooth the machine-jointed edge by shooting. Then rip to width on the table saw with the planed edge against the fence. The ripped edge can be smoothed with one or two passes of a hand plane, usually later in the building process.
You can even eliminate the shooting board and still do this work. Just take a piece of 3/4″ MDF, clamp the work piece on top with its edge overhanging the MDF, and run the plane on the workbench top. If you don’t trust the trueness of your workbench, temporarily cover it with another piece of 3/4″ MDF.
This is also an easy, effective method to edge joint a pair of thin or small boards, such as drawer bottom stock (see below). Decide on the mating edges, “close the book” on the joint, clamp the pieces to the platform, and shoot both edges at once. It’s hard to miss.

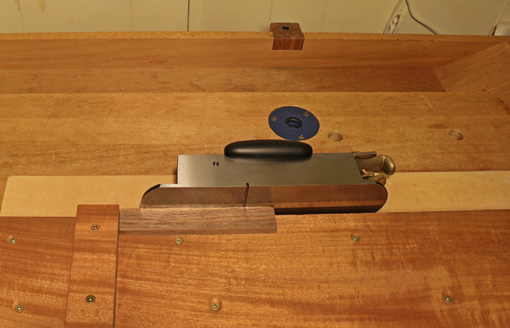
Shooting is also a sensible way to work with very small pieces (see below).

These are effective methods that require minimal infrastructure and can be used regularly on a wide range of projects.


Tom Fidgen just posted this video where he is shooting banding:
http://www.theunpluggedwoodshop.com/the-good-dr-s-medicine-chest-part-four.html
Sylvain