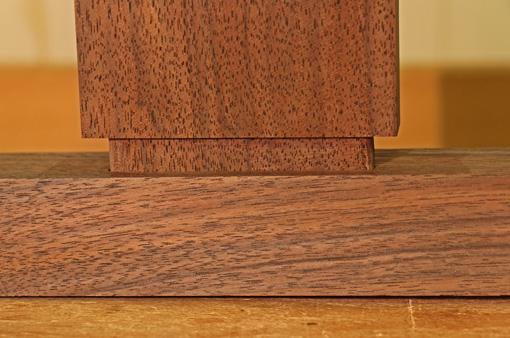
This will start a few posts here on sawing tenons by hand, but first let’s first ponder the mortise and tenon joint in general. A joint that has been used successfully for thousands of years certainly deserves some thought.
What accounts for the joint’s legendary strength? Imagine trying to snap an “L”-shaped M&T construction. The mechanical lock of the tenon shoulders meeting the wood surface around the mouth of the mortise effectively transfers the imposed stress to the glued surfaces of the tenon cheeks against the mortise walls.
The stress on the glued surfaces, in turn, is a shear stress – and we know how wonderfully glued wood surfaces resist shear stress. Voila: a strong joint!
In fact, rarely will a reasonably made M&T joint itself fail. Rather, it is the wood around the joint that is more likely to give way.
Looking at the mortise and tenon strength tests detailed in Fine Woodworking magazine issue#203 (February 2009), we can see that it is almost always the wood around the mortise that failed, even when the tenon itself was too weak to hold up. In the real world, I cannot recall seeing any decently made tenon break, but I have seen the wood around the mortise fail.
I also observe that the only real danger to a tenon pulling out in a properly made joint is from the all-powerful forces of hygroscopic wood movement conflict. This may produce some gapping at the shoulder line, especially in injudiciously designed joints.
In most woodworking instruction, much attention is paid to proportioning the thickness of the tenon with respect to the thickness of the rail. Recommendations are typically that the tenon should be 1/3 – 1/2 as thick as the rail itself.
Yet, knowing from where the M&T derives its strength and how it is capable of failing, it behooves us to look at the proportions of the joint as a whole:
- Especially consider the robustness of the wood surrounding the mortise.
- Consider the area of shear-stress glue surface – the tenon cheeks.
- Consider the nature of the dimensional conflict within the joint. The corollary here is that glues with a bit of give, like PVAs, have an advantage.
One more possible consideration is the lever arm force exerted on the stile (mortise member) by the tenon. In the FW article, look at how the humble stub-tenon and biscuit joints failed: the stile split along the grain near the end of the tenon depth. That’s a lot harder to do with a deeper tenon where the leverage works out to be not as lopsided, and the tenon engages more peri-mortise wood, not to mention the direct value of the greater glue surface area.
I hope, readers, you are not now expecting me to delineate a set of rules for proportioning a good M&T joint. Sorry, there are simply too many construction situations and circumstances. However, thinking clearly about what is going on in the joint and the considerations listed above should bring you to good joint designs. Furthermore, frankly, there is a good amount of slack here – even non-ideal but more-or-less reasonably designed M&Ts will hold up.
But don’t make a sturdy 3/8″ thick tenon to sit in a mortise with a 1/8″ outside wall!
Coming up: sawing tenons by hand, starting with sensible joint layout.


But why are those proportions gospel that result in double tenons? Is it that a single thicker tenon has more capacity for expansion/contraction than thinner ones? Or is it a matter of increasing glue surface?
NPC, I’m not sure exactly what you mean, but speaking generally, I would avoid “gospel” in woodworking. Consider it, if only to understand why it became gospel, but put your stock in what makes sense and what works in your shop for what you are building and how you want to build it.
In general, the double tenon joint is a way of increasing glue surface area without making the tenons too deep (long) or too wide. It is used in situations that permit only a relatively small or shallow mortise and tenon. A thin secondary table rail or drawer divider are examples.