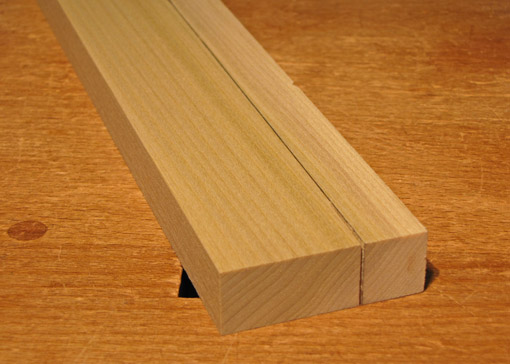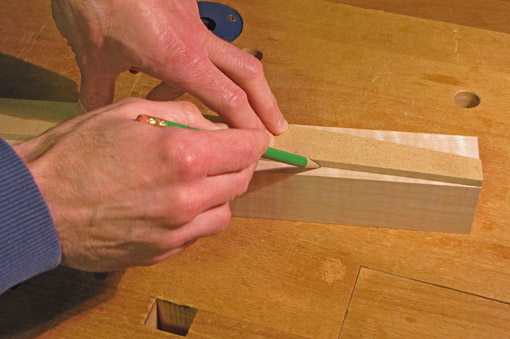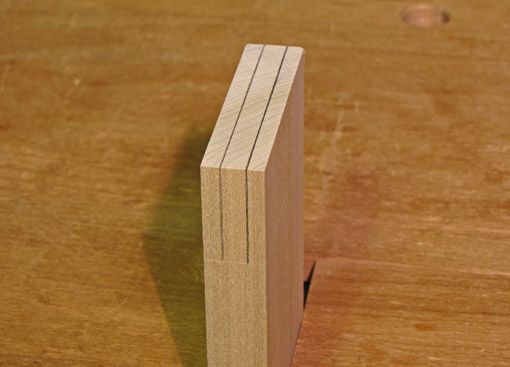
All would be right in the world of woodworking if we could saw perfectly to the line every time. Joinery would fit directly from the saw, everything would assemble neatly, we would never grow old, and pay no taxes. In the meantime, however, let us consider some ways to improve this ubiquitous woodworking task. The uncommon tips in these posts apply not only to hand sawing, but also machine sawing without a fence such as might be done with the bandsaw.
We know the basics: an appropriately designed, good quality saw, straight, properly sharpened and set. The work piece is securely held in an ergonomic position. The sawyer grips the saw properly with good hand-shoulder alignment, and produces even strokes engaging the length of the saw.
Tip #1: Consider the line and what it means.
The idea here is to have mental clarity as to just what the line represents and thus how you will saw in relationship to it. Mental clarity precedes physical success.
Consider several scenarios.

If the line is produced by drawing against a template as in, for example, sawing curved legs from rectangular blanks with the bandsaw, then the entire line is in the waste wood. If you split the line with the saw, there remains a half-line of extra wood to remove saw marks and fair the curve. If you want more margin for clean up, make a chunky line and saw right up to it without touching it. The key is to be clear about what you are aiming for and why.
If you use a pencil to mark out pins from the tails you’ve sawn, the line is fully in keeper wood. If you split this line, the pins will surely be too small. If you saw to one side of it, and no more, things should work out fine.
If a part is marked to length by registering it with the end of another part which is thus used as a template, the line will be fully in waste wood. Splitting it with the saw will make the resulting piece too long, but perhaps this is a desired allowance to allow for shooting it just right. Sawing to fully remove the line would be an attempt to produce an exact match from the saw. Again, the intent should be thought out beforehand.

As another example, I set my mortise gauge so the two points are at exactly the width of the mortise and mark out the tenon with this setting. I run a pencil line so the point rubs against both sides of the “valley” of the scribed line. I then know that if I split this line with my saw, the tenon will be just right.
Visually, I find it easiest to split a line with the saw. The visual cue is that as the cut proceeds I can see half of the line remains next to the kerf, and this remainder looks half as wide (easy to estimate) as the uncut line ahead. When sawing to one side of a line, it is easy to be too timid and leave extra wood, though if this is not excessive it may work out fine, allowing for a bit of clean up. Sawing to completely remove a line, but no further, is visually difficult since the result looks the same if you have done it just right or if you have sawn too far into the keeper wood.
The key is to be clear about the “context” of the line and anticipate the next step in construction. In all of these matters, the concept of one-sided tolerance is most helpful.


If sawing on the line I suppose the thickness of the pencil line relative to the thickness of the saw plate is significant, too.
Rob,
I think it is not. Visually and mechanically, you’re just trying to run the edge of the set down the pencil line. Within practical limits, I do not find a difference tracking a line based on saw plate thickness.
The other saw characteristics, especially the precision in sharpening and tooth design are the keys.
For example, I do just as well with a 0.026″ kerf Western dovetail saw as with a 0.016″ kerf Japanese saw. In my opinion, a thin kerf/plate thickness is not in itself more accurate, despite the claims of some Japanese tool vendors.
Where this can get muddied is that thicker plates tend to have greater tooth set and thus more wobble and tearing in the kerf. These lead to inaccuracy.
Rob
Agreed, there would be no significance if the edge of the set follows the edge of the pencil line, but I think the pencil line and saw plate thickness may be significant if you split the line.
For example, if you were to mark with a 0.3mm mechanical pencil (as many woodworkers seem to do, although I don’t) and then accurately split the line with your 0.026 inch (0.66mm) dovetail saw, you’d obliterate the line and be 0.18mm over the line on each side and more than that if the saw has any set.
Rob,
Yes, but I think we are differing in terminology. To clarify:
By “splitting the line” I do not mean attempting to center the kerf on the pencil line, whatever its width. The reference is always the edge of the set, usually preferably on the left side of the saw for most right handers. That point is made to center on the pencil line. This is what I mean by “splitting the line” with the saw. I believe this conforms with usual woodworking terminology.
The edge of the set may also be run alongside the very edge of the pencil line, removing it completely if on one side, or just preserving it if on the other side, depending on the meaning of the line and what you are trying to do, as discussed in the post.
I would not suggest sawing by centering the kerf on the pencil line.
Rob
Thanks for the explanation Rob – much appreciated.
Great info, very clear and easy to understand also very similar to how I have cut for the past 25 years or so. Keep the line ,remove the line and which side to cut to has always been one of the first things talked about with a new bench-men in any of my shops.
Dan
Thanks Dan. It’s good to hear that your many years of experience substantiate what I’ve attempted to articulate.
Rob