In developing your woodwork creation, you have so far: developed ideas into a strong concept to be made with beautiful wood, researched design, construction, skills, and tools, and used mock-ups to work out various issues. Is it time to make sawdust? Not yet. You should first build the project on paper or CAD with measured drawings.
Drafting the project allows you to work through the specifics of the construction and create an invaluable guide to keep you on course in making the piece. If this step is neglected, if you “wing it,” the odds are high of coming to an impasse in the course of building the project. It is better to use an eraser now than to add to the firewood pile later. Though the drawing process will include plenty of erasing/deleting, backtracking, more work with the mock-up, and some tedium, it is worth it.
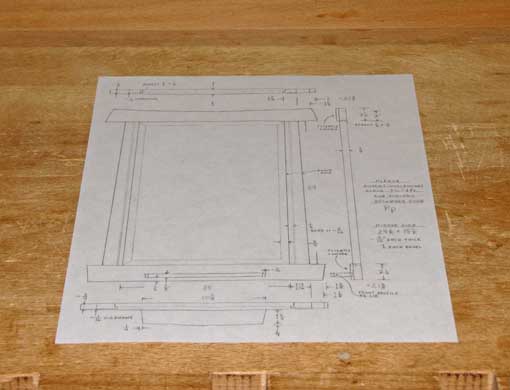
Orthographic projection drawings – front elevation, side elevation, and plan views – are the most practical and useful of the pencil-and-paper methods. These are made to scale for the piece as a whole. It is helpful to draw certain key areas full size, especially to work out joinery and other details. It is generally not necessary to codify all of the innards of a piece with a pretty drawing, but it is not wise to leave things to chance and risk getting stuck in the middle of a project. The drawings also serve to plan the wood requirements, and are a record that may be referred to for future projects.
For the wall mirror, the example piece for this series, pictured below are front and side elevations and two modified plan views.
 copyright 2010 Robert Porcaro
While it is possible to do some simpler and/or very familiar constructions working from a mock-up without drawings, I believe a woodworker should at least have basic drafting skills. The methods are far beyond the scope of the present discussion. I suggest Bob Lang’s Drafting and Design for Woodworkers as a manual for understanding and making drawings, as well to get going on SketchUp 3-D CAD. Bob now has an extensive set of video lessons, SketchUp for Woodworkers.
A word of context is in order. Valuable though they are, drawings and CAD are never more than graphic representations of a piece and cannot fully define it. They do not contain the workmanship and subtle personal details, such as refined edges and textures, that contribute immeasurably to a piece. This is part of the life that a craftsman imbues into the piece as he works.
And so you must build the piece, which is the subject of the next installment in the series.


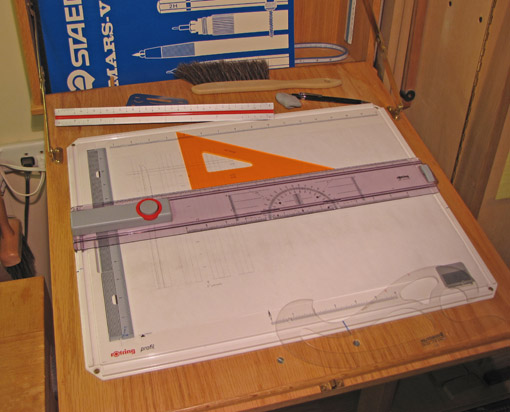
Do you know of a good resource to buy basic drafting tools like in the first image above?
Thanks a keep up the great site!
Thanks, Sean.
You can find most of the drafting tools you will need at any Staples, Office Max, etc. There are also numerous online specialty sources.
The portable drafting board is a Rotring Profil:
http://www.rotring.com/en/produkte/zeichenplatten/profil.html
I don’t know where they are available in the US at this time. However, I think the Koh-I-Noor board is about the same if not exactly the same:
http://www.dickblick.com/products/koh-i-noor-portable-drawing-board-and-head/#description
This board is handy if you are short on space. It uses up to standard 11’h x 17″w paper. I built it into a wall-hung, flap-front drafting cabinet that I made.
Rob