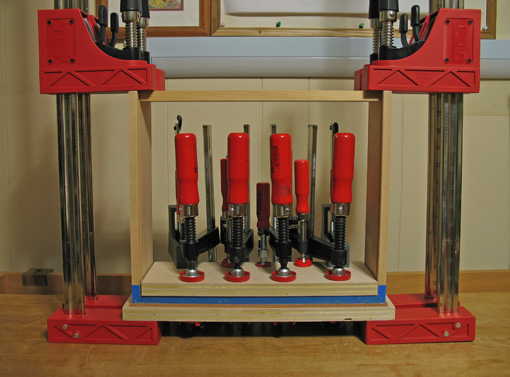
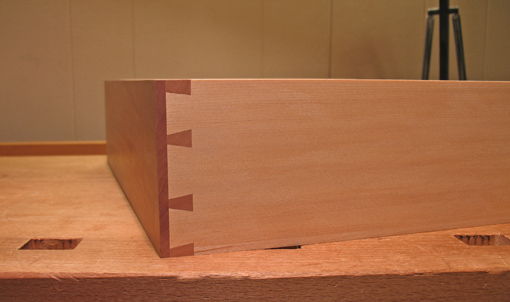
Glue up in this method goes easily. No special clamping blocks are required; pressure can be applied directly to the sides with parallel jaw clamps because the surfaces of the tails are proud of the end grain of the pins. Blue masking tape applied to the inside surfaces will eliminate the unpleasant job of cleaning up glue squeeze out in confined areas. Use pinch rods to check the diagonals to ensure the drawer will be square.
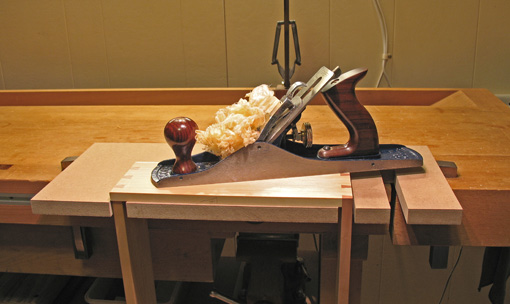
After the glued assembly has cured, it’s time for the cool part. Plane the sides just down to the end grain of the front and back pins. This will allow the drawer to barely enter the housing, since the original fits of the front and, secondarily, the back, have remained unaltered during subsequent construction. A jig that is described in a previous post will greatly facilitate this planing.

At this point, I laminated the slightly oversized, slip-matched false fronts using plywood cauls, Unibond 800 glue, and more clamps than I probably needed. After drying, I sawed and planed them flush to the original fronts. Note again that the drawer making method described here will work equally well with regular fronts with lapped or through dovetails.

Check, and trim as needed, to ensure that the drawer lies flat, without twist. Now test the drawer to its opening, conservatively taking light shavings from the sides to get a sweet fit. Swish. It should fit neither like the glove on OJ, nor like your big brother’s boots. Consider the season in which you’re working, and remember that a few thin shavings make a difference. Experience has taught me that the sides do expand ever so slightly in humid weather, enough to bind a drawer that fit like a Ferrari piston in the dry season.
Trim the tops of the front and sides to create adequate clearance for seasonal change, allowing for the most humid time of the year. Keep the top of the front parallel with the top of the housing. Remember that, all else being equal, the gap at the top of a 6 inch high drawer will need to be about twice that of one 3 inches high. I use the Lee Valley Wood Movement Reference Guide, tempered with experience, to avoid stuck drawers during the dog days of summer.
Up next: down to the bottoms.


You know, I should’ve seen this coming…the front fit up, the back fit up, and still I idly wondered why the sides were proud (you know, pins vs. tails first, pins or tails high, etc.) and now it seems so obvious. Thanks again, love the series.
Jeff
Rob,
Thank you very much for this series. I always have trouble getting drawers to fit well. I believe I have found my cure.
-Jason
You’re welcome, Jeff and Jason. I hope my explanations are clear enough for readers to bring right to the shop and start making sawdust. Drawers really are fun to make, and they don’t have to be “perfect” to enjoy. No one’s are.
Rob
That is a great technique for keeping the drawer widths constant throughout their processing. What type of plane are you using there to trim the side boards? Would your choice differ for deeper drawers?
That’s a Record #5 jack, almost 30 years old, with aftermarket handles and blade. A jack would be enough for the deepest drawers since you’re working on wood that was trued earlier in the construction process. I finished up with my best #4 to take very thin shavings.
By the way, you’ll notice three holes in the side of the plane. They are tapped to receive machine screws that hold a special fence for edge jointing. I made the holes shortly after getting the plane; no regrets.
Rob