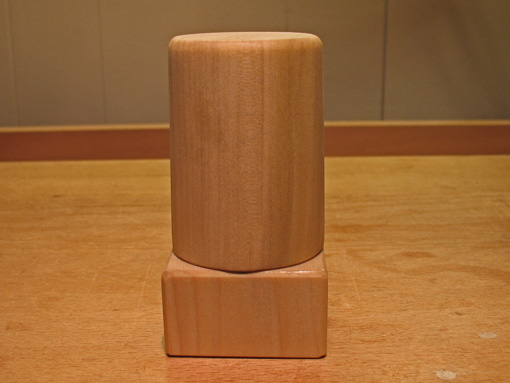
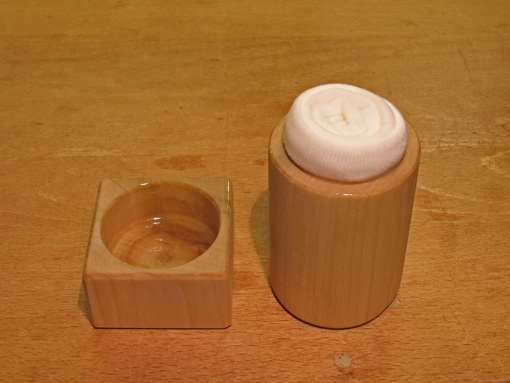
Camellia oil is a pleasant, easy to use rust inhibitor for tools. This oiler makes it quick and neat to apply.
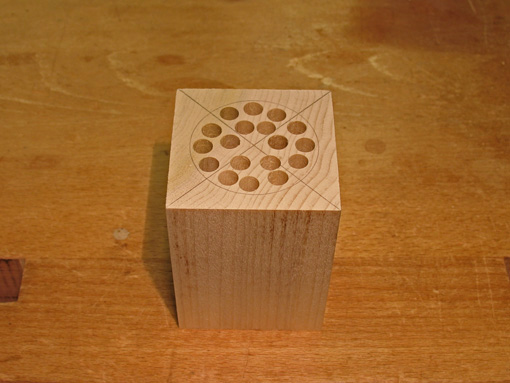
The project starts with squared-up blocks, each 2 1/4″ x 2 1/4″ on the end grain. One is 3″ long, the other 1 1/4″ long. I used poplar since I had some on hand and it is not so dense as to make the boring and shaping too tedious. A 1 3/4″ Forstner bit in a drill press is used to bore a 2″ deep hole, centered on the end grain, in the larger block. This is a lot to ask of a Forstner bit so much of the waste is best removed beforehand with multiple 1/4″ holes. For safety when using the Forstner, I immobilized the workpiece with clamped blocks on all sides. I never fully retract the bit and reenter the hole with the bit spinning; it could catch the edge of the hole and violently throw the workpiece.
Similarly, a 1 7/8″ diameter hole, 7/8″ deep, centered on the end grain, is bored in the smaller block. By sawing, planing, rasping, and sanding the larger block is formed into a cylinder with a wall thickness of about 1/4″. Turners could accomplish these steps on the lathe and may wish to use denser exotic woods.
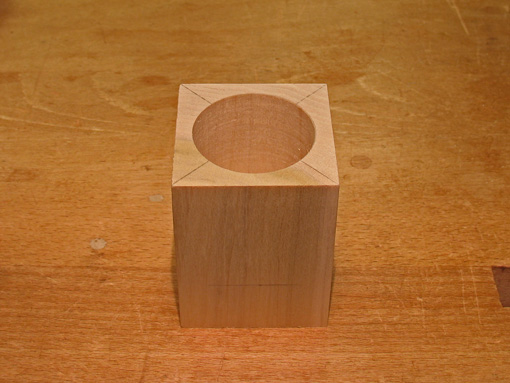
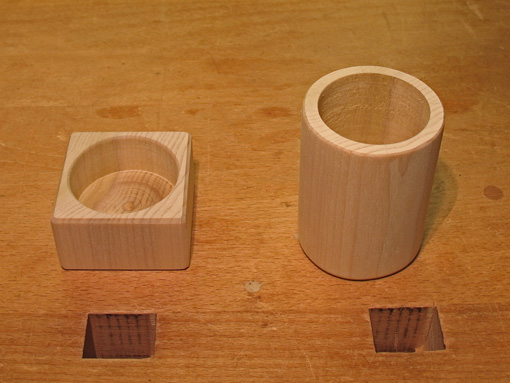
Next, a heavy coat of epoxy is applied to the bottom and inner walls of the holes in each piece and to the end grain surface surrounding the rim of each hole. This prevents oil from bleeding through the wood. After the epoxy has dried, the area around the rim of each hole is flattened with sandpaper which gives it a non-sticky, matte finish. The outer parts of each piece, where there is no epoxy, are finished with two coats of varnish.
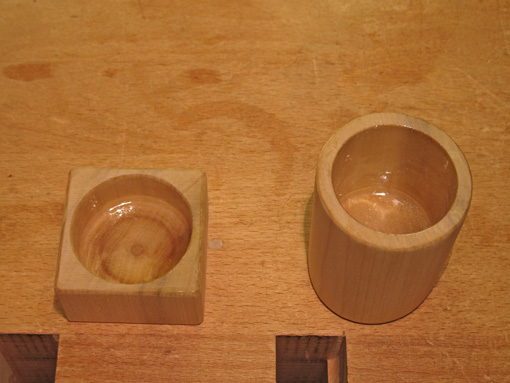
For the oil wick, cotton T-shirt cloth is tightly rolled and bound with string. The bundle is about 2 ½” long, to project about ½” beyond the rim of the cup, while its diameter fits snugly.
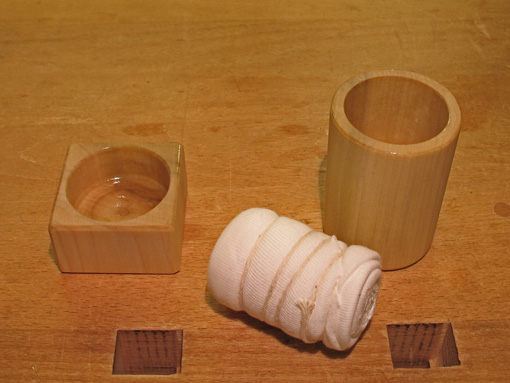
The cotton is generously soaked with Camellia oil, repeating as the oil slowly permeates the bundle. The oiler is stored upside down with the projecting cotton fitting into the hole in the smaller block, with clearance around the sides and below. The cotton acts as a substantial reservoir for oil which is replenished as needed. A light swipe of the oiler over tool steel surfaces will leave a thin coating of the Camellia oil. The design allows one-handed use.
For general oiler construction and dimensions, I used information in Toshio Odate’s superb book, Japanese Woodworking Tools: Their Tradition, Spirit, and Use, which describes a traditional Japanese oiler made from a section of bamboo. The general idea of an oiler stored upside down in a holder is borrowed from an oiler made many years ago by a woodworker.
This oiler has passed the test of practical use in my shop: it’s simple and it works. I hope you find it useful.
ADDENDUM: Here are a few afterthought improvements after using the oiler for some years.
I now line the oiler with rolled felt from a craft supply store instead of cloth. This makes the oiler neater in use.
If I had to make this again, I would adjust the diameters of the holes in the top and bottom sections. The top section hole should be 1/4″ smaller (not 1/8″, as above) than the bottom section hole. This would make it easier to plant the top section into the bottom without catching the edge of the liner on the rim of the hole in the bottom section. You can adjust the dimensions of the block and wall thickness of the top section (make it a bit thicker) accordingly, depending on the wood available to you. Remember that you can, of course, always glue up stock if thick stock is not available.


Rob,
Ah, you beat me to it! The oiler looks great! It’s amazing how even a piece of poplar can look good with the right application of tool edges, sandpaper, and finish.
So when you say the oiler is stored upside down, do you mean as it sits in the first picture?
I started thinking about this the other day when I dropped my wife off at a nursery for a gardening class last weekend. I saw some bamboo poles off to one side and ran over to look through them, but they were all too skinny. Then I found a guy on Craig’s List who was selling 1″ diameter bamboo poles for $35, but he wanted to sell them all together and I didn’t think I could find a use for 14 and 9/10 bamboo poles after I was done with cutting off what I needed…
I do have a box of exotic cut-offs sitting around; maybe I’ll go through that this weekend. It might be a good way to use some of them up…
Ethan,
Thanks for the comment. Yes, the oiler sits as shown in the top picture, ready for one-handed use. Using wood instead of bamboo allowed me to design the size and features I wanted. Those 1″ bamboo poles would make an oiler that was too narrow for my purposes. Wood is good.
Rob
Rob and Ethan,
A good project, but bamboo is also available in larger diameters – maybe check garden nurseries for a single piece sold for decorative uses. Look carefully for splitting, though.
At one of the Kezuro-Kai – USA events at Palomar College, CA, one of the visitors from Japan had a similar oiler made from a piece of bamboo about 3″ diameter, sitting upright, which he used to lubricate his chisel by tapping it very lightly into the oiled fabric before every cut. He was making a small demonstration piece similar to a shoji, and was fitting each half-lap joint extremely precisely by trimming with the oiled chisel. I’ve never seen anyone else do that.
Milford
Milford,
Thanks for the comment. I remember reading somewhere about Japanese shoji makers mortising using a chisel repeatedly lubricated as you describe. I wondered if that would interfere with gluing but I’m sure they know what they’re doing.
Rob