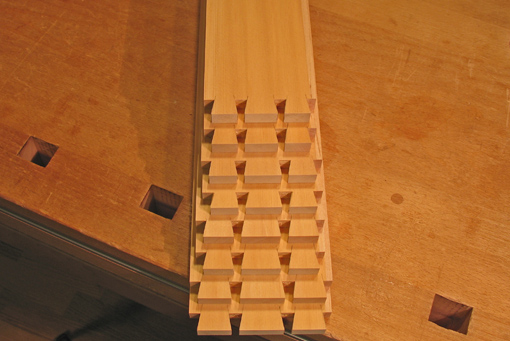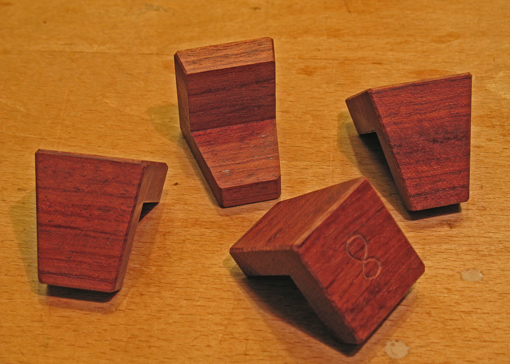
Marking out dovetails goes much easier with these handy helpers. Held in place hooked over the end of the board, they allow penciling a squared line across the end grain and the tail slope line down the side grain with one setting. By contrast, it is tedious and less accurate to mark the tail slopes by setting a sliding bevel and aligning it with lines that you’ve squared across the end grain with a square. If you do pins first, a similar dilemma arises.
There are commercially available versions of these markers. Lie-Nielsen sells an excellent one with 6:1 and 7:1 slopes on opposite sides of a single tool. This may lead to errors. Lee Valley sells separate aluminum gauges with 8:1, 6:1, and 14 degree slopes. The problem with the Lee Valley gauges, in my opinion, is the relief machined in the inside corner of the tool which is supposed to allow clearance for saw whiskers on the corner of the board. This feature causes an annoying discontinuity in the penciled line, right where you need a clean line to start the saw cut. Furthermore, it is unnecessary since boards that are being prepared for dovetail joinery have ends that are sawed or shot clean and square.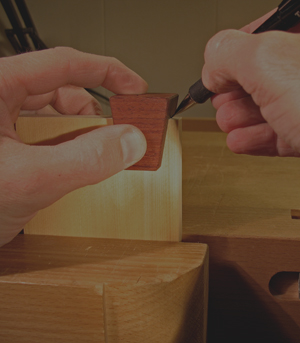
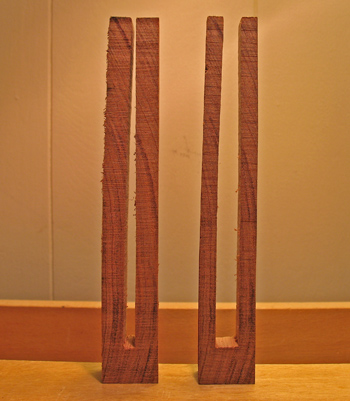
I made these markers from riftsawn bubinga. Outside dimensions are 1 ½” tall, 1 3/8″ deep, and 1 1/4″ wide. The rabbet inside extends 1″ from the inside corner in each direction allowing use on boards up to 1″ thick. These dimensions are really larger than necessary but I was thinking that I wanted to make them only once and cover every conceivable use.
Here is a suggested construction method. This will yield markers with a 3/4″ capacity. Please use your judgement as to what you feel is safe for you. On the side edge of a dry, stable, dressed board without internal stresses, at least 18″ long, about 1 1/8″ thick, and at least several inches wide, make a 3/4″ x 3/4″ rabbet on the router table with a 1″ straight bit, proceeding incrementally since the rabbet is too large to make in one pass. At the table saw, rip away a 1 1/4″ strip containing the rabbet.
Now use the miter gauge to create the angled edges by holding the long length of the piece against the miter fence and crosscutting away a short length, about 1 1/2″, which will become the dovetail marker. (Please do not risk your fingers by holding a short piece against the miter fence and crosscutting it. Work by cutting short pieces off a long piece.) The angles could be created with one miter gauge setting, say 8.1 degrees for a 1:7 slope, by rotating the workpiece after each miter cut. Alternatively, the miter gauge could be reset after each cut to the same angle on the opposite side of 90 degrees. Test the accuracy of your creation with a square and sliding bevel.
Simple, works beautifully. (Yes, that is getting to be a theme here.)
