Machine tool number two that I suggest to bring on as you get into woodworking: the router.
To repeat: yes, of course, high quality woodworking can be done without any machine at all, as it has been for hundreds of years. Yet machines do add many advantages of labor, time, fast accuracy, and production.
Routers do so many things: joinery, grooves, curved edges, patterns, and more. I use routing in nearly every project.
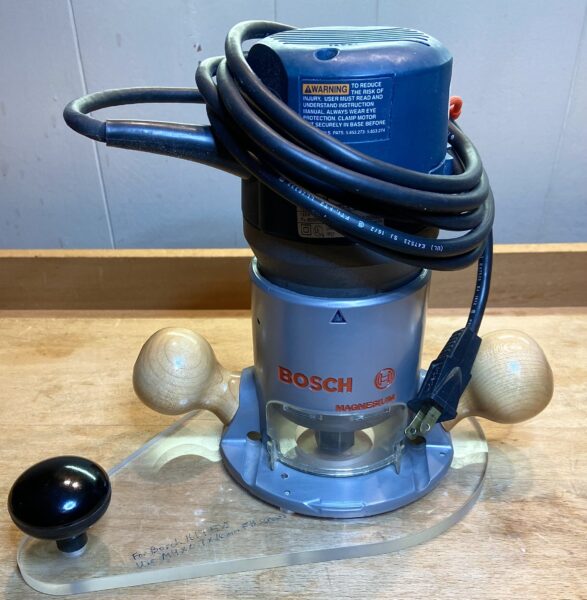
The Bosch 1617EVS 2.25 HP (photo above) is an excellent router for overall use. There certainly are other good choices of this type but the Bosch is one I can recommend based on using it for many years in countless projects. It can run 1/4” and 1/2” shank bits with plenty of power at 12 amps.
This gets most of its use in my router table. Cutting hight is easily adjustable to .004”, though you can easily go to .002” increments. It also can be used upright with hand pushing guided by various types of edge or circle guides (one is in the photo above) and fences.
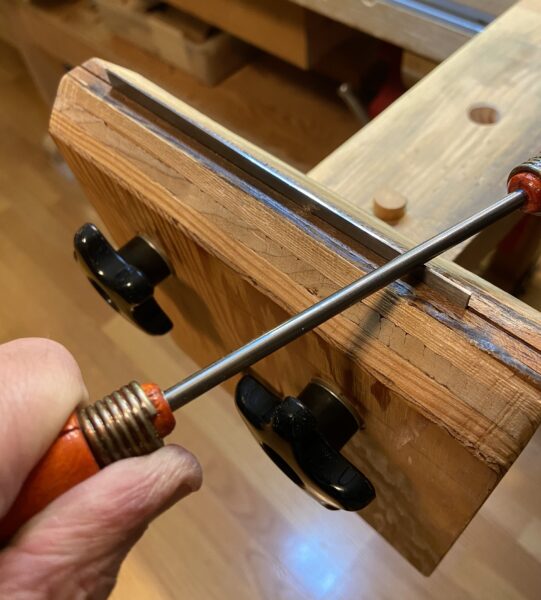
Also get a plunge base for the Bosch and use it for mortising with a good jig setup. This topic is discussed in a series of 10 posts “End to side-edge joinery” 12/31/25 through 3/12/26, particularly the 1/9/26 post. In summary, the plunge base and jig setup are certainly worth having.
———————
CAUTION: Electric woodworking power tools are extremely dangerous and can cause severe injury including amputation of fingers. Please do not even begin to use an electric woodworking tool without first learning safety from a highly reliable source, understanding, and using appropriate safety procedure.
This website is NOT the source for learning this important practice. The brief mentions on the topic are not nearly sufficient to keep you safe.
———————
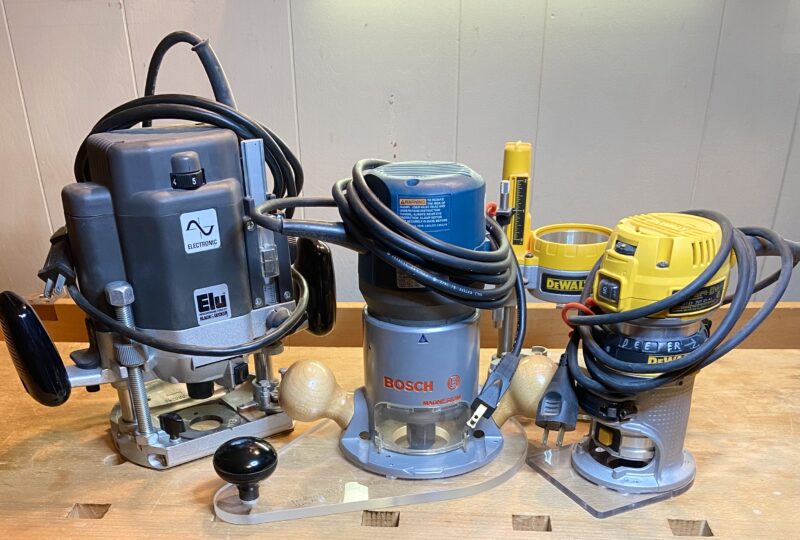
I have long had a heavy Elu 3338 plunge router and use that for mortising. It can easily cut large, wide, and deep mortises. It has long been out of production but mine still runs well. Others are available.
I also have a handy compact router, the DeWalt DWP611 (see the group photo). This is useful with various setups for figured edging, special joinery, etc. Transferred to its plunge base, it can be used in jigs for mortise and tenon. The 7 amp power is not a good choice for all but narrow, very short mortises.
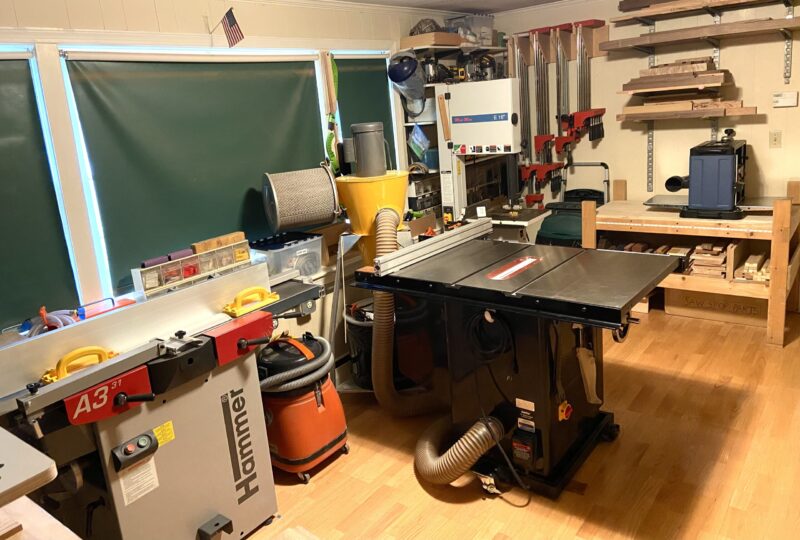
Having the one router like the Bosch 1617 and accessories, buy or build a router table. I long ago made one that still works very well. I suggest to a new woodworker to spend the money, save the effort, and get one of the many well-made tables now available.
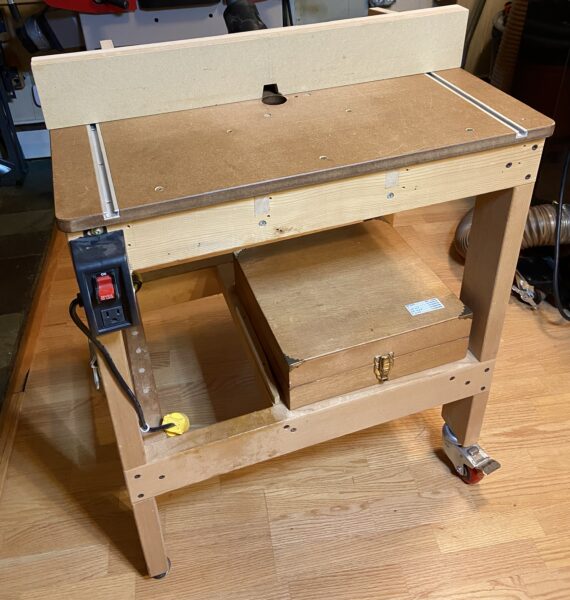
You can get a JessEm or a Woodpeckers table for several hundred dollars to over $2000. I can only imagine they are excellent but having successfully used my self-made version for a long time, I know you can spend a fraction of that and work very well. For example, the Bosch RA1171 router table plus the 1617 router including the plunge base is now about $500.
Remember, I do not sell here, or take any payments or kickbacks, etc. Shop around, read honest reviews, ask your friends.
One more addition to the “part 2”: a power drill. Just a simple, good, cordless drill such as the DeWalt shown here. Screws, dowel joinery, and countless other holes are needed in every shop, as well as around the home.

That is what I suggest for a new woodworker’s second electric machines that follow the thickness planer.
In the next post, we’ll go to #3.